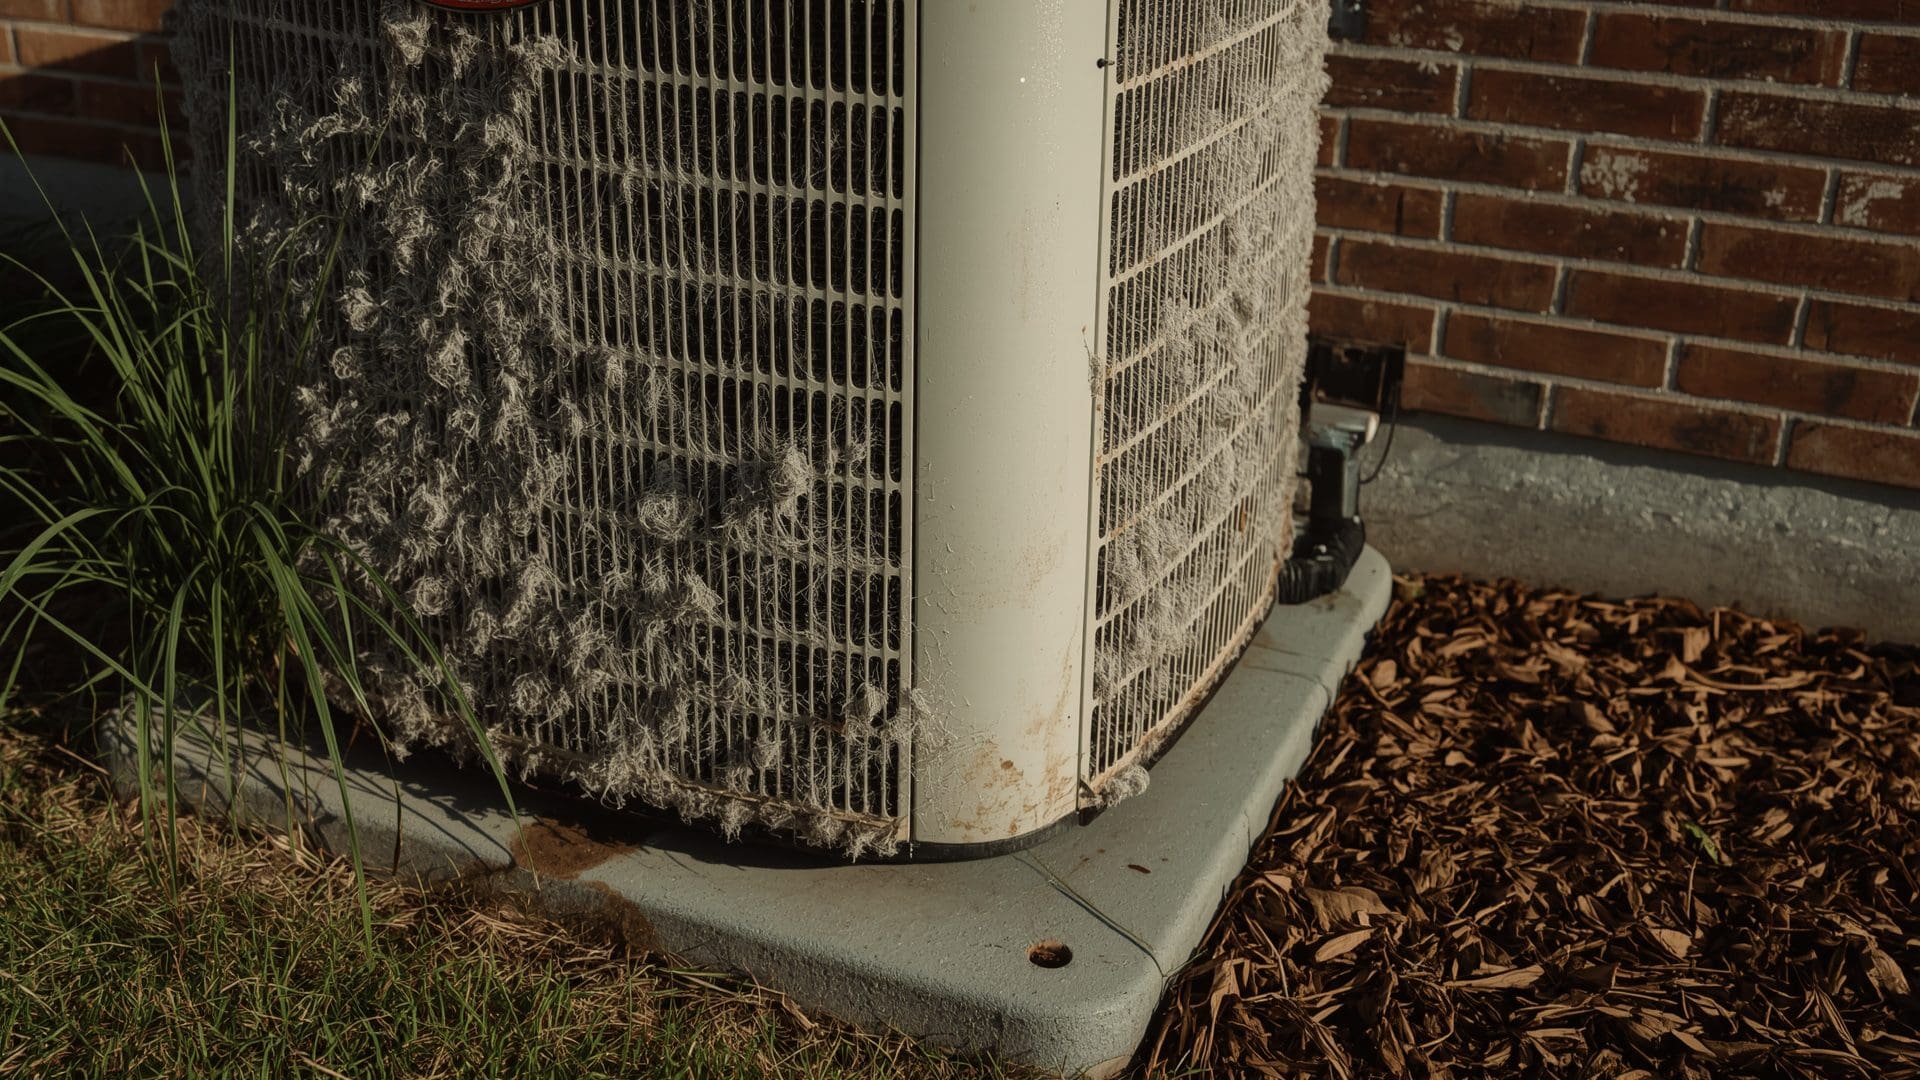
Your AC’s outdoor unit works hard every cooling season. Over time, the condenser coils — the metal fins and tubes on the outside of that unit — collect dust, dirt, grass clippings, and debris. When they get clogged, your AC has to work harder to release heat. That means higher energy bills, less cooling power, and a shorter system lifespan.
The good news: cleaning condenser coils is a job most homeowners can handle in about an hour. You don’t need special certifications or expensive equipment. You need a few basic tools, the right cleaner, and a clear process.
This guide walks you through everything — from shutting down power safely to rinsing the coils clean and straightening bent fins.
Key Takeaways
- Clean condenser coils once a year — ideally in spring before the cooling season starts.
- Always shut off power at the disconnect box — never clean a live unit.
- A fin comb straightens bent aluminum fins — bent fins block airflow and reduce efficiency.
- No-rinse foaming coil cleaner works for light buildup — heavy buildup needs a rinse-off cleaner and garden hose.
- Coils that are damaged, corroded, or leaking refrigerant need professional service, not DIY cleaning.
- The whole process takes 45 to 90 minutes — most of that is wait time while cleaner soaks.
What Are AC Condenser Coils and Why Do They Need Cleaning?
Quick Answer: Condenser coils are the aluminum fins and copper tubes wrapped around your outdoor AC unit. They release heat from your home into the outside air. Dirty coils block that heat transfer, forcing your system to run longer and use more energy.
Your AC system moves heat in a loop. The indoor unit (evaporator coil) absorbs heat from your home’s air. That heat travels through refrigerant lines to the outdoor unit, where the condenser coil releases it outside. Think of the condenser coil as a radiator — it has to shed heat efficiently to keep your home cool.
When dirt, pollen, or debris coats those fins, airflow gets restricted. Heat gets trapped. The compressor runs hotter and longer. Over a full season, that strain adds up to higher utility bills and premature component failure.
What Does a Condenser Coil Look Like?
The condenser coil wraps around the outside of your outdoor unit like a sleeve. It’s made of thin aluminum fins pressed tightly together around copper or aluminum refrigerant tubes. The fins are delicate — you can bend them with your fingers if you’re not careful. The entire coil assembly sits inside the metal cabinet of your outdoor unit.
How Often Should You Clean Condenser Coils?
Clean them once per year as part of your spring AC prep routine. If your unit sits near trees, has nearby landscaping, or runs in a dusty environment, inspect it every six months. A quick visual check takes two minutes — just look through the metal grille for visible debris or matted fins.
What Tools and Supplies Do You Need to Clean Condenser Coils?
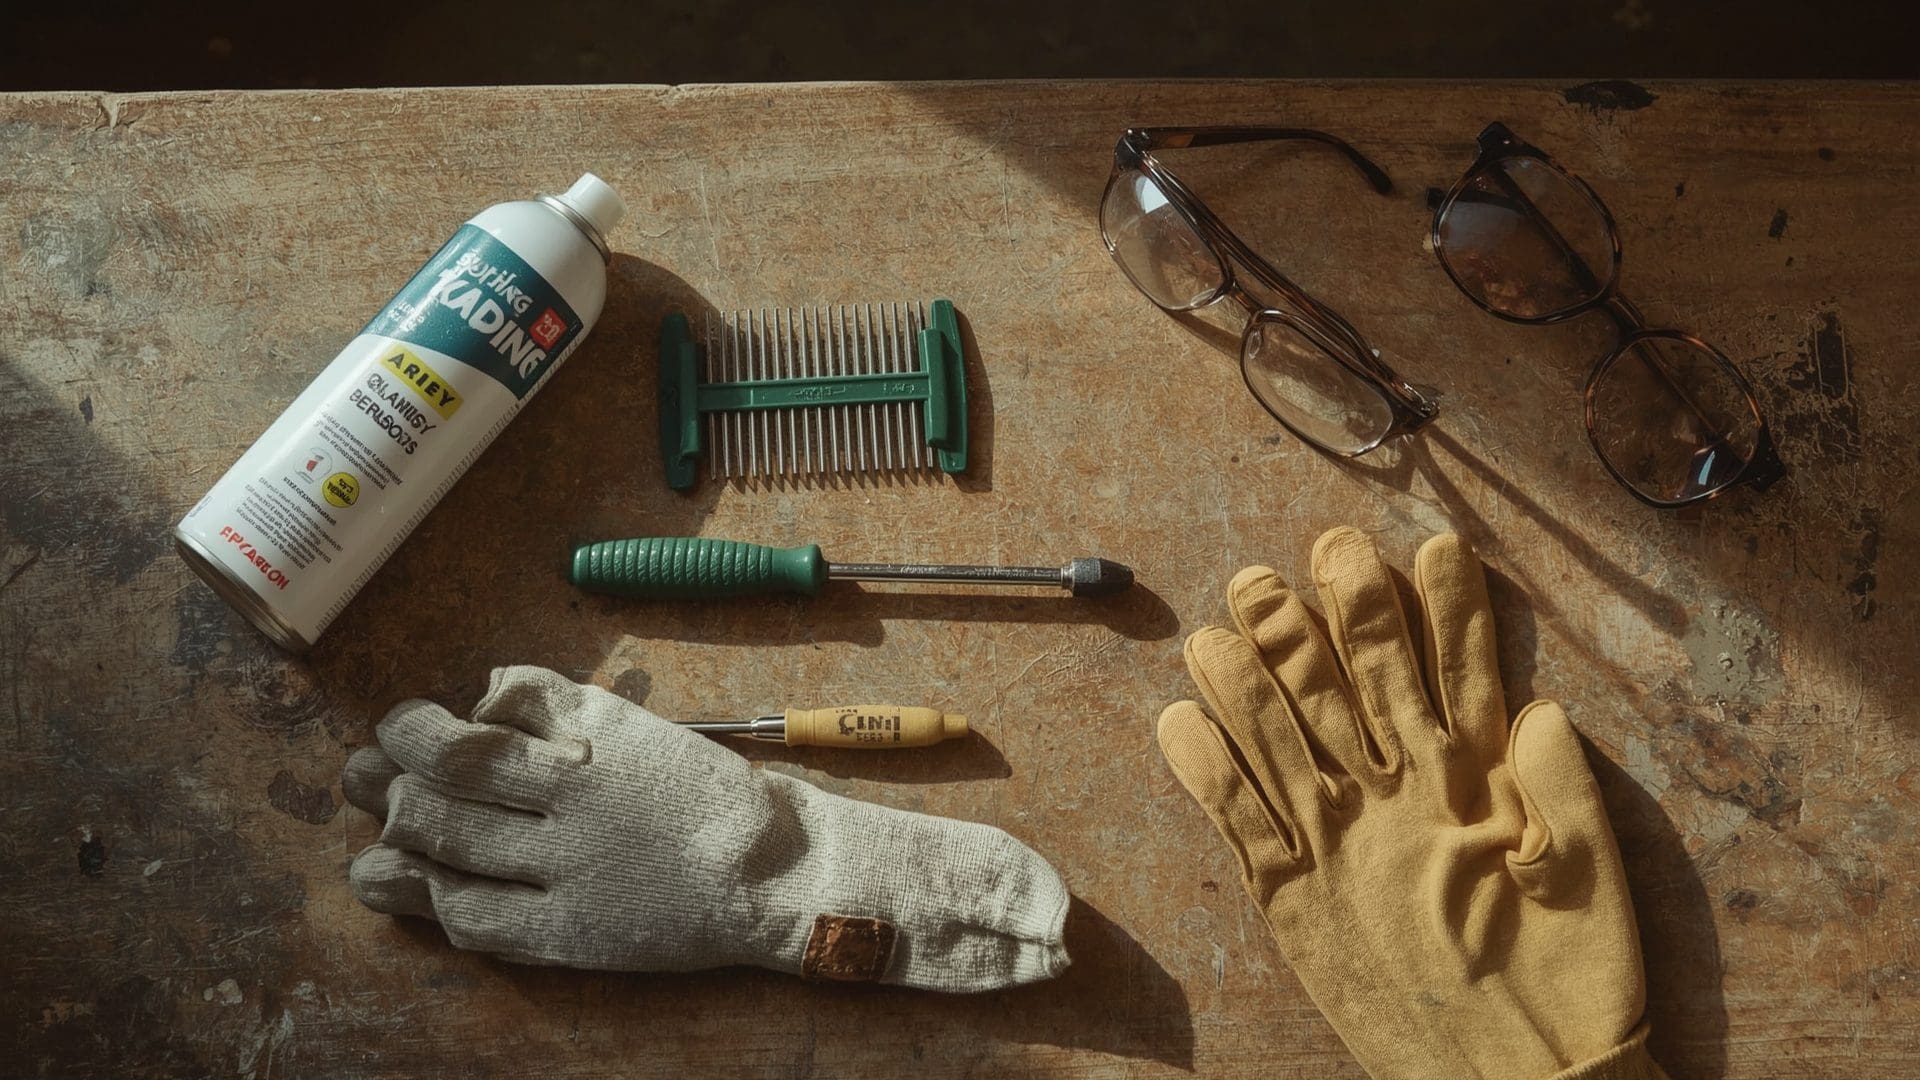
Quick Answer: You need a screwdriver, garden hose with spray nozzle, coil cleaner (foaming or spray), fin comb, work gloves, and safety glasses. Total cost for first-time supplies runs $25 to $60. Most tools are reusable for future cleanings.
| Item | Purpose | Cost Range | Reusable? |
|---|---|---|---|
| Coil cleaner (foaming, no-rinse) | Dissolves light grease and debris | $8–$15 per can | No (consumable) |
| Coil cleaner (rinse-off spray) | Removes heavy buildup with water rinse | $10–$20 per bottle | No (consumable) |
| Garden hose with spray nozzle | Rinses coils from inside out | $15–$35 (nozzle only) | Yes |
| Fin comb (also called fin straightener) | Straightens bent aluminum fins | $8–$18 | Yes |
| Flathead screwdriver | Removes outer cabinet panels | Already owned | Yes |
| Work gloves (nitrile or leather) | Protects hands from sharp fin edges | $5–$12 | Yes |
| Safety glasses | Protects eyes from cleaner splash | $4–$10 | Yes |
Should You Use a Pressure Washer Instead of a Garden Hose?
No. A pressure washer pushes too much force through the fins and will bend them flat. A standard garden hose on a gentle spray setting is strong enough to flush debris out without causing damage. If your fins are already bent, a fin comb can fix that — but a pressure washer will make it much worse.
What Are the Best Coil Cleaner Options for Condenser Coils?
Quick Answer: No-rinse foaming cleaners work well for light seasonal dirt. For heavy buildup with grease or mold, use a rinse-off alkaline cleaner. Avoid acid-based cleaners on aluminum coils — they cause corrosion. Nu-Calgon, Frost King, and SpeedClean are widely trusted brands.
| Cleaner Type | Best For | Rinse Required? | Safe for Aluminum? | Example Products |
|---|---|---|---|---|
| No-rinse foaming spray | Light dust and pollen | No | Yes | Frost King ACF19, Nu-Calgon Evap Foam |
| Rinse-off alkaline cleaner | Heavy grease and stubborn buildup | Yes | Yes (check label) | SpeedClean CoilShot, Nu-Calgon 4171-75 |
| Acid-based coil cleaner | Mineral deposits, hard water scale | Yes | No — avoid on aluminum | Nu-Calgon 4287-08 (for specific use only) |
| Biodegradable coil cleaner | Eco-conscious cleaning, light soil | Sometimes | Yes | Simple Green Pro HVAC |
Can You Use Dish Soap to Clean Condenser Coils?
A diluted dish soap solution can work in a pinch for light surface dirt. Mix a few drops of dish soap with water in a spray bottle and apply it to the fins. Rinse thoroughly with a garden hose. It won’t penetrate deep buildup the way a dedicated coil cleaner does, but it won’t damage aluminum fins either. For anything beyond light surface dust, use a proper coil cleaner.
How Do You Safely Shut Down the AC Unit Before Cleaning?
Quick Answer: Turn your thermostat to “off,” then cut power at the outdoor disconnect box (a gray or black box mounted on the wall near the unit). Flip the switch or pull the disconnect block. Wait five minutes before touching any components.
The disconnect box is a weatherproof electrical box mounted within a few feet of your outdoor unit. It contains either a pull-out block or a switch that cuts power to the unit. You must use this — turning the thermostat off is not enough. Capacitors inside the unit store electrical charge and can deliver a dangerous shock even after the thermostat is off.
What If There Is No Disconnect Box?
Some older installations don’t have a dedicated outdoor disconnect. In that case, go to your main electrical panel and flip the breaker labeled for the AC or condenser. If the breakers aren’t clearly labeled, look for a double-pole breaker in the 30 to 60 amp range. When in doubt, call a licensed electrician before proceeding.
How Do You Clean AC Condenser Coils Step by Step?
Quick Answer: Shut off power, remove the cabinet panels, clear debris by hand, apply coil cleaner, let it soak for 5 to 10 minutes, rinse from the inside out with a garden hose, straighten any bent fins, and restore power after the coils dry.
Step 1: Cut Power to the Unit
Turn the thermostat to “off.” Go to the outdoor disconnect box and remove the pull-out block or flip the switch to the off position. If your disconnect has a lock slot, consider using a lockout tag during cleaning. Wait at least five minutes before proceeding.
Step 2: Clear Large Debris First
Put on your gloves and safety glasses. Remove any leaves, sticks, or debris sitting on top of the unit or wedged against the coil from the outside. Use your hands or a soft brush — not a screwdriver or anything sharp. Debris wedged deep in the fins should be loosened by the coil cleaner, not forced out manually.
Step 3: Remove the Cabinet Panels (If Accessible)
Some outdoor units allow you to remove side panels or top grilles for better coil access. Most residential units have screws along the cabinet edges — usually Phillips or flathead. Keep track of all screws. You don’t need to disassemble the entire unit. Just remove what gives you clear access to spray the coils from inside.
Note: Do not disconnect any wiring. Do not remove the fan blade or motor unless you have HVAC training.
Step 4: Apply Coil Cleaner
Shake the can well. Hold it about 6 inches from the coil surface. Apply an even layer of cleaner across the entire coil face. Work from top to bottom. For a foaming cleaner, you’ll see it bubble up as it reacts with dirt and debris. Let it sit for the time listed on the label — typically 5 to 15 minutes.
If you’re using a rinse-off cleaner, make sure your garden hose is nearby before you start. You don’t want the cleaner to dry on the coils.
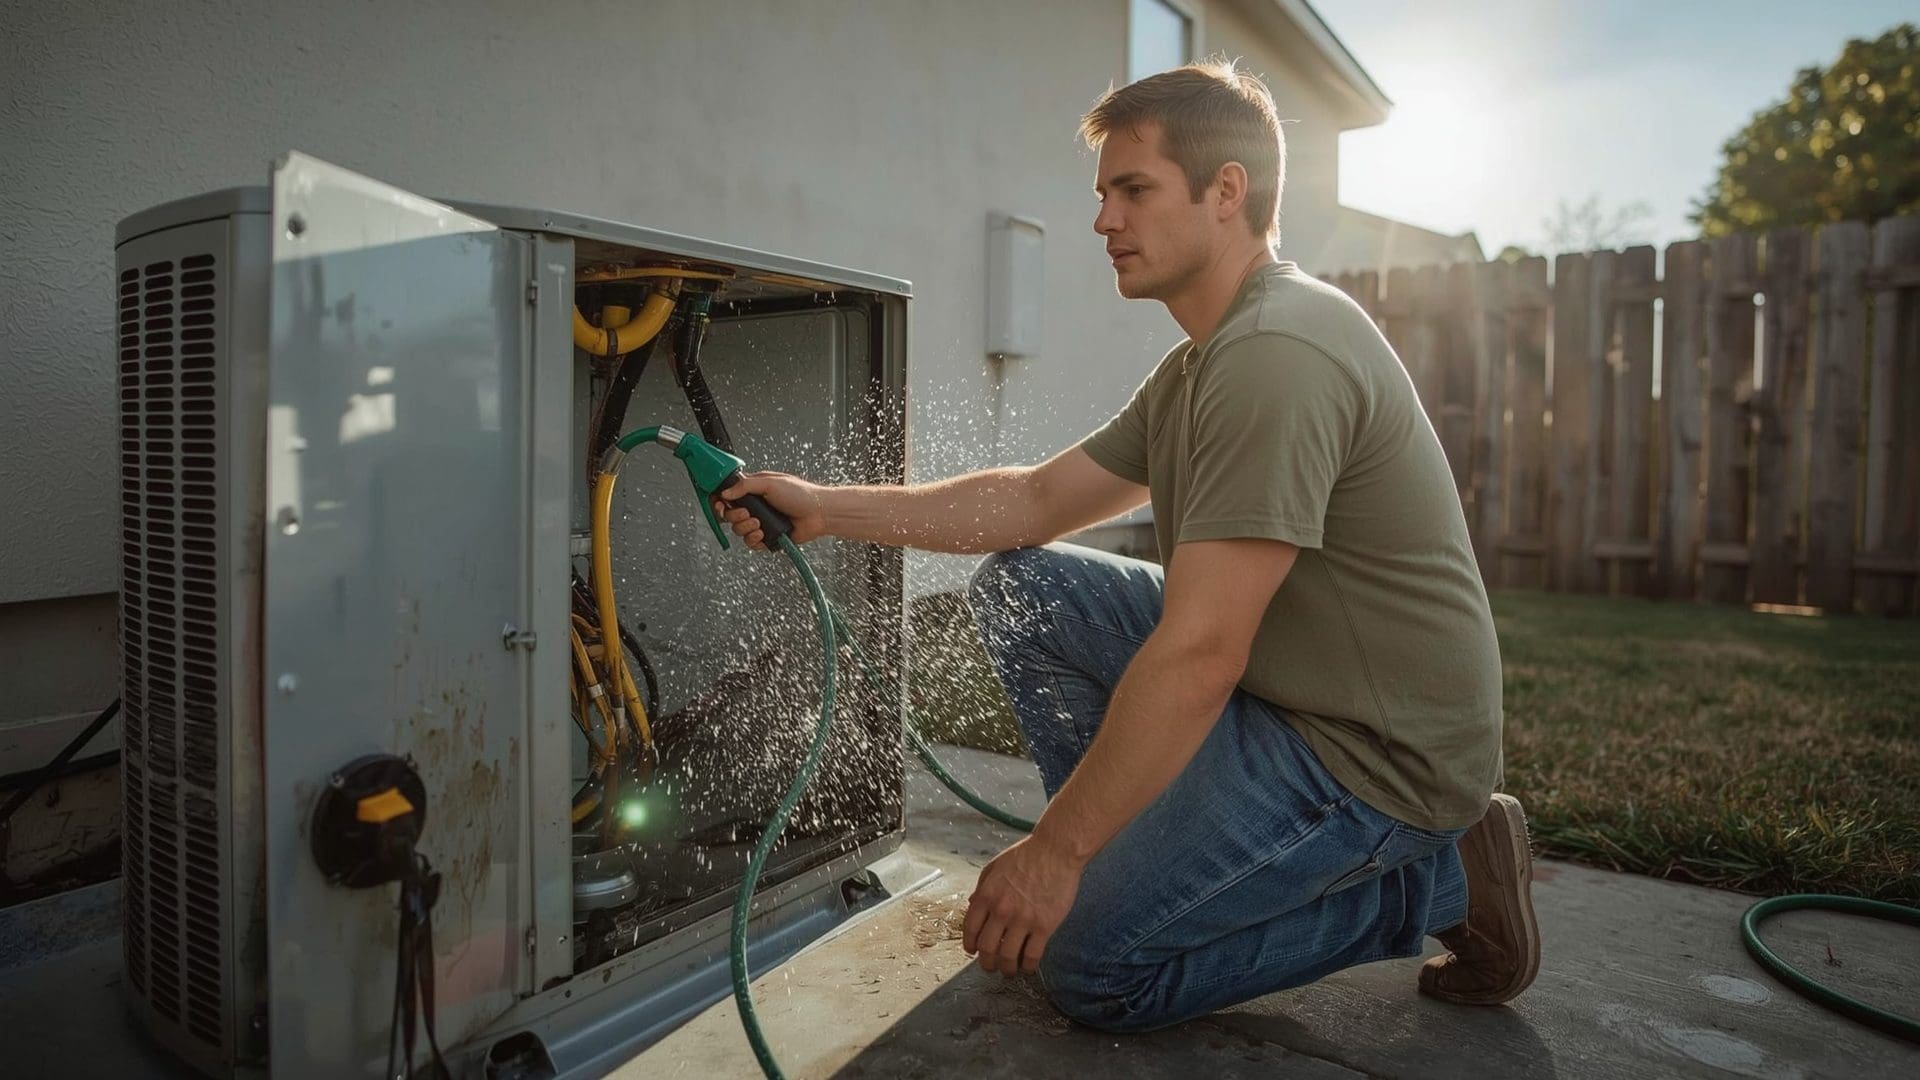
Step 5: Rinse the Coils from Inside Out
This is the most important technique in the whole process. Spray water from the inside of the unit outward through the coil fins. This pushes dirt out the same way it entered — from outside in. Spraying from the outside in just drives debris deeper into the fins.
Use a gentle spray setting. Work from top to bottom in slow, even passes. Keep the nozzle 6 to 12 inches from the coil surface. Rinse until the water runs clear.
Step 6: Straighten Bent Fins with a Fin Comb
Bent fins restrict airflow through the coil. A fin comb is a small plastic or metal tool with multiple teeth per inch — each spacing matches a standard fin density (typically 8, 10, 12, or 14 fins per inch). Check your unit’s spec label or the fin comb packaging to find the right spacing.
Slide the comb gently along the bent area to realign the fins. Work slowly — forcing the comb too fast can snap fins off. Light bends respond well to this method. Severe damage covering large sections may require a professional coil replacement assessment.
Step 7: Let the Unit Dry and Restore Power
Give the coils 15 to 30 minutes to air dry before restoring power. Replace any cabinet panels you removed. Reinsert the disconnect block or flip the breaker back on. Set your thermostat back to cooling mode and confirm the unit starts normally within a few minutes.
What Does Fin Straightening Actually Do for Efficiency?
Quick Answer: Straightening bent condenser fins restores airflow through the coil. Blocked fins force the compressor to run longer and hotter. Even partially restoring fin alignment can improve heat transfer efficiency and reduce run time noticeably.
The aluminum fins on your condenser coil are only about 0.004 inches thick. They bend from hail, lawn mowers, weed trimmers, and even animals brushing against the unit. When fins collapse against each other, air can’t flow through. Your condenser coil loses effective surface area. The compressor compensates by running longer cycles.
| Fin Density (fins per inch) | Common Application | Comb Tooth Spacing | Risk Level If Wrong Comb Used |
|---|---|---|---|
| 8 fins per inch | Older residential condensers | 0.125 inches | High — will bend fins further |
| 10 fins per inch | Standard residential units (pre-2010) | 0.10 inches | High — will bend fins further |
| 12 fins per inch | Most common modern residential units | 0.083 inches | Medium |
| 14 fins per inch | High-efficiency residential and light commercial | 0.071 inches | Medium |
What Safety Precautions Should You Follow When Cleaning Condenser Coils?
Quick Answer: Always cut power at the disconnect box before touching the unit. Wear gloves and eye protection when handling coil cleaner. Never spray water near electrical components. Don’t clean a condenser coil in temperatures below 50°F — some cleaners won’t activate properly in the cold.
Chemical Safety for Coil Cleaners
Alkaline coil cleaners are caustic. They can irritate skin and damage eyes on contact. Read the SDS (Safety Data Sheet) for any cleaner before use — most manufacturers post these on their websites. If you get cleaner in your eyes, flush immediately with water for 15 minutes. Store leftover cleaner in a cool, dry place away from direct sunlight.
Electrical Safety Around the Outdoor Unit
The capacitor inside your outdoor unit holds a charge even after power is cut. Do not open the electrical compartment (the smaller metal box on the side of the unit) during a DIY cleaning. That’s the area containing the capacitor and contactor — components that require discharge tools and HVAC training to handle safely. Your job is the coil surface only.
When to Stop and Call a Professional
Stop cleaning and call an HVAC technician if you find any of the following during your inspection:
- Oily residue or frost near the refrigerant lines (possible refrigerant leak)
- Coil fins that are crushed over a large section and can’t be combed out
- Visible corrosion, pitting, or holes in the coil tubes
- Burn marks or melted wiring near the electrical compartment
- A unit that doesn’t restart after cleaning
How Do You Know if the Condenser Coils Are Actually Dirty?
Quick Answer: Look through the metal grille. If the fins look gray or matted with debris instead of silver and open, they need cleaning. Other signs include longer cooling cycles, reduced airflow from vents, and higher electric bills without a change in usage patterns.
| Symptom | Likely Cause | DIY Fix? |
|---|---|---|
| AC runs longer than usual | Restricted heat transfer from dirty coils | Yes — clean the coils |
| Visible debris on coil fins | Normal outdoor exposure over one season | Yes — clean the coils |
| Warm air blowing from vents | Dirty coils or low refrigerant | Partial — clean first, then call if issue persists |
| Unusually high energy bills | System inefficiency from coil blockage | Partial — clean first, then investigate further |
| Unit overheating and shutting off | Severely restricted airflow to coils | Yes — clean coils, but inspect for other issues |
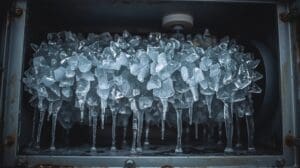
| Ice forming on the outdoor unit | Airflow or refrigerant issue | No — call a technician |
How Do You Keep Condenser Coils Cleaner for Longer?

Quick Answer: Maintain at least 18 to 24 inches of clearance around the outdoor unit, trim nearby shrubs twice a year, and avoid using a leaf blower near the unit. These habits reduce debris accumulation and extend the time between deep cleanings.
Landscaping and Clearance Rules
Plants and shrubs growing close to the unit shed leaves, seeds, and pollen directly into the coils. Keep all vegetation at least 18 inches from every side of the unit. Tall fencing or dense shrubs placed for aesthetics can also restrict airflow — the unit needs open air above it and on all sides to exhaust heat efficiently.
Using a Coil Cover in the Off-Season
A breathable outdoor AC cover can reduce debris accumulation during winter in northern climates. Use only covers designed for AC units — they allow moisture to escape while blocking leaves and dirt. Do not use a solid tarp. Trapped moisture accelerates corrosion and can create a nesting space for pests.
Post-Cleaning Maintenance Habits
After cleaning, rinse the outside of the coil fins with a plain garden hose every four to six weeks during peak cooling season. A quick two-minute rinse removes fresh pollen and surface dust before it bonds to the fins. This keeps the deep annual cleaning much easier.
Frequently Asked Questions
Can I clean the condenser coils without removing the cabinet panels?
Yes. You can spray coil cleaner and rinse through the existing grille openings on most residential units. Removing the panels gives better access for a thorough cleaning, but it’s not required for a basic annual cleaning. If the buildup is heavy or packed deep into the fins, removing the top grille for inside-out rinsing helps significantly.
How long does a condenser coil cleaning take?
The hands-on work takes about 20 to 30 minutes. Add 15 minutes for the cleaner to soak and another 15 to 30 minutes for the unit to dry before restoring power. Total time from start to finish is typically 60 to 90 minutes.
Is it safe to run the AC right after cleaning the coils?
Wait until the coils are visibly dry — usually 15 to 30 minutes after rinsing. Restored power to a wet unit can trip a breaker or cause short circuits near electrical components. Once dry, the unit is safe to run normally.
What happens if you never clean your condenser coils?
Neglected coils force the compressor to work harder, which raises energy bills and generates excess heat inside the unit. Over several seasons, that strain accelerates compressor wear. A condenser coil cleaning that costs a homeowner about $30 in supplies can help avoid a compressor replacement that runs $1,200 to $2,500.
Will cleaning the condenser coils fix warm air blowing from vents?
It might. Dirty condenser coils are a common cause of reduced cooling output. Clean them first — it’s the easiest fix to rule out. If the unit is still blowing warm air after a thorough cleaning, the issue is likely low refrigerant, a failing compressor, or a faulty capacitor. Those require a licensed HVAC technician.
Can a condenser coil be repaired if it’s leaking refrigerant?
Minor leaks in copper coil tubing can sometimes be repaired by a certified HVAC technician using brazing or epoxy-based sealants. Larger or recurring leaks usually mean the coil needs full replacement. This is not a DIY repair — refrigerant handling requires EPA Section 608 certification. Attempting to add refrigerant without a license is illegal.