Your air conditioner works hard all summer. But if you skip routine maintenance, it works even harder — and costs you more money while doing it. A dirty filter, clogged drain line, or grimy coil can cut your system’s efficiency by 15% or more. The fix is simple: a seasonal checklist you run through before and after cooling season.
This guide walks you through every task on an AC maintenance checklist — from the easy DIY steps you can do in 20 minutes to the professional checks that keep your system running safely for years.
Key Takeaways
- Change filters every 1 to 3 months — a clogged filter is the single most common cause of reduced AC performance.
- Clean coils once a year — dirty evaporator and condenser coils force your system to work harder and raise your energy bill.
- Flush the drain line every season — a clogged condensate drain can cause water damage and mold growth inside your home.
- Refrigerant levels need a pro — low refrigerant usually signals a leak, and only a licensed HVAC technician can legally handle refrigerant.
- Electrical inspections catch failures early — loose wires and failing capacitors are the top causes of unexpected AC breakdowns in summer.
- Two seasons matter most — spring startup and fall shutdown are the two best times to run through your full checklist.
What Should Be on an AC Maintenance Checklist?
Quick Answer: An AC maintenance checklist covers six core tasks: replacing air filters, cleaning evaporator and condenser coils, flushing the condensate drain line, checking refrigerant levels, inspecting electrical components, and testing system performance before each cooling season.
Think of AC maintenance like changing the oil in your car. Skip it once and nothing terrible happens. Skip it for three years, and you’re looking at a very expensive repair bill. Each item on this checklist targets a specific part of your system that degrades over time.
The checklist splits into two categories. Some tasks are DIY-friendly — you can do them safely with basic tools and no special training. Others require a licensed HVAC technician because they involve refrigerant, high-voltage electrical components, or specialized diagnostic equipment.
DIY Tasks vs. Professional Tasks
- DIY: Replace air filter, clean or rinse condenser fins (light cleaning), flush condensate drain line, clear debris from outdoor unit, check and replace thermostat batteries, straighten bent condenser fins
- Professional: Check and recharge refrigerant, inspect and test electrical components (capacitors, contactors, wiring), clean evaporator coil (inside air handler), measure airflow and static pressure, inspect refrigerant lines and insulation, verify electrical amp draws
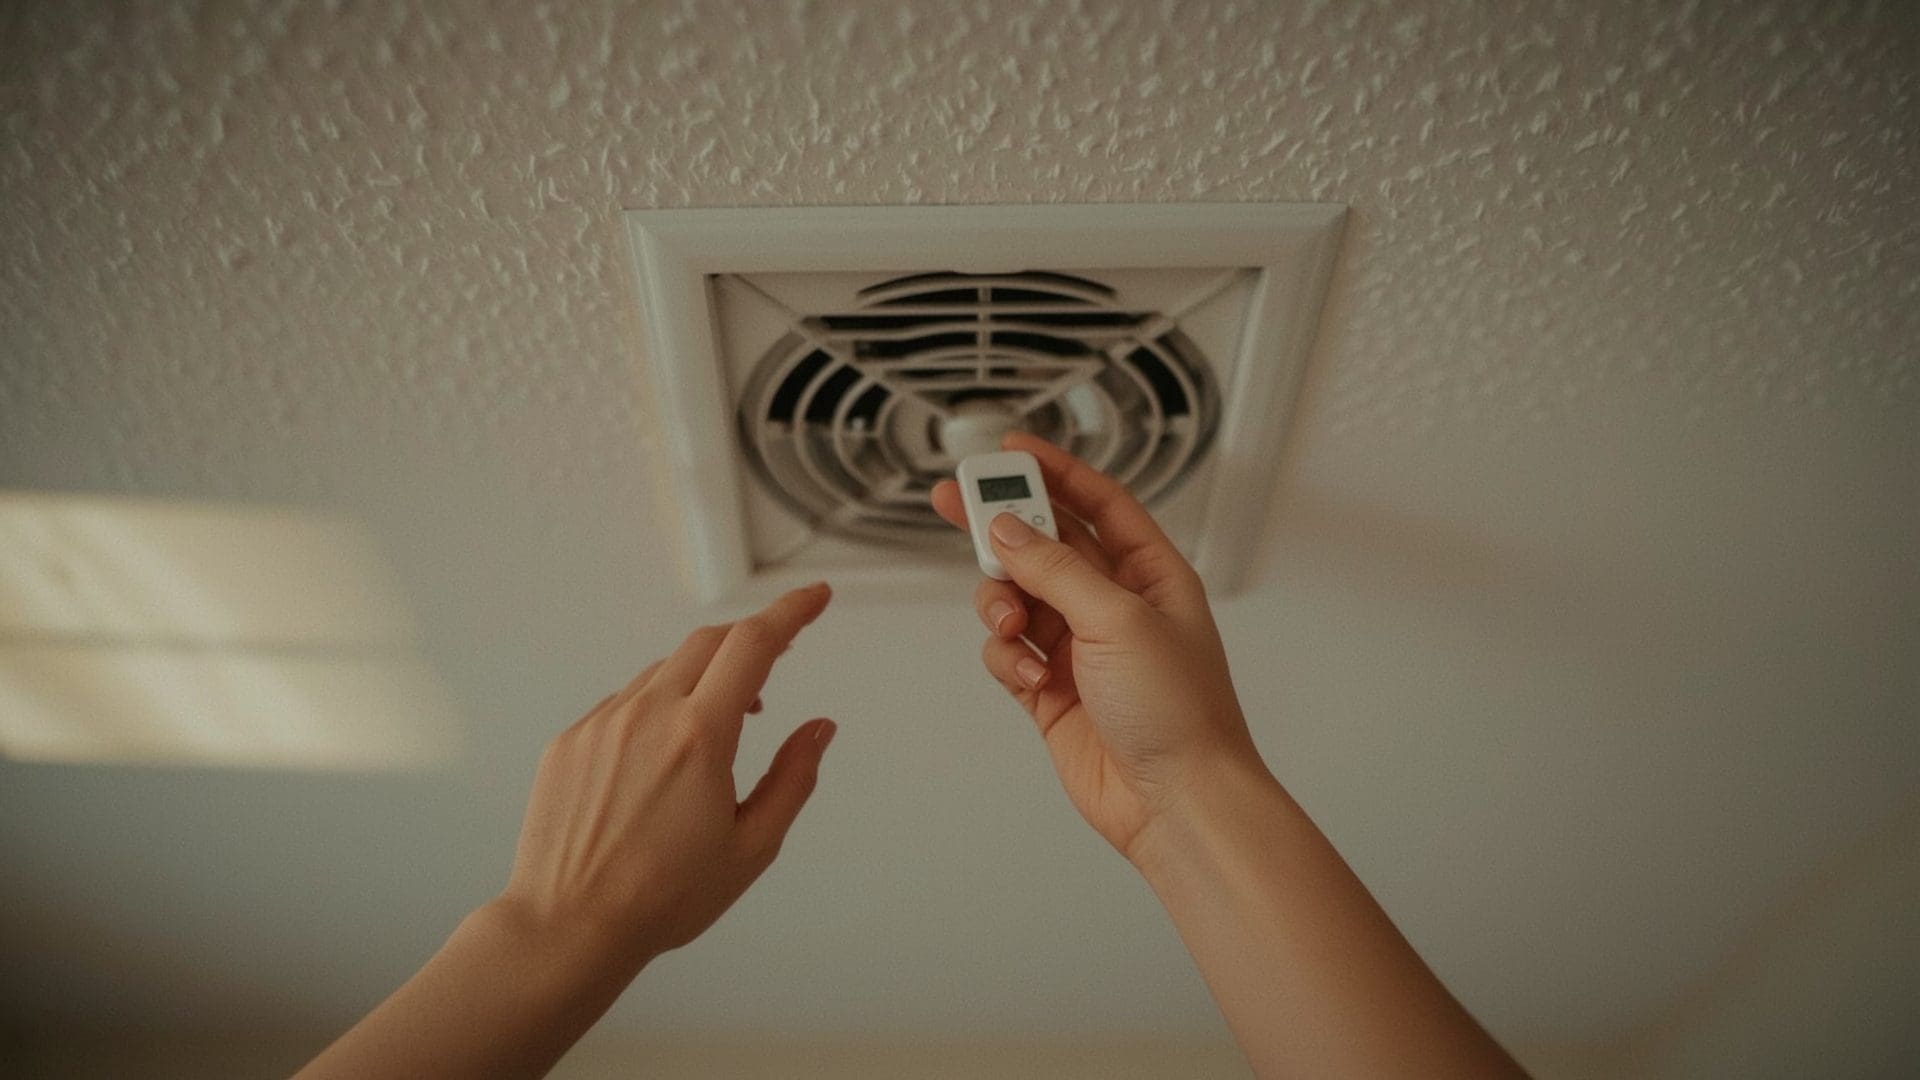
How Often Should You Change Your AC Filter?

Quick Answer: Change your AC filter every 1 to 3 months depending on filter thickness, home size, and whether you have pets. A 1-inch filter needs changing monthly. A 4-inch media filter can last up to 6 months. Check monthly and replace when visibly gray.
The air filter is the easiest and most important maintenance task you can do yourself. A clogged filter restricts airflow across the evaporator coil. When airflow drops, the coil gets too cold and can freeze over — shutting down your cooling entirely.
Air Filter Comparison by Type
| Filter Type | MERV Rating | Thickness | Replacement Interval | Estimated Cost |
|---|---|---|---|---|
| Fiberglass (Basic) | 1–4 | 1 inch | Every 30 days | $1–$5 each |
| Pleated Polyester | 8–13 | 1 inch | Every 60–90 days | $5–$20 each |
| High-MERV Pleated | 13–16 | 1 inch | Every 60–90 days | $15–$30 each |
| 4-Inch Media Filter | 10–12 | 4 inches | Every 6–12 months | $20–$50 each |
| HEPA (Standalone) | 17+ | Varies | Every 12 months | $30–$80 each |
Homes with pets or allergy sufferers should replace filters on the shorter end of each interval. A heavily used system running 12+ hours a day in summer also needs more frequent changes.
How Do You Clean AC Coils at Home?
Quick Answer: You can rinse condenser coils on the outdoor unit with a garden hose (low pressure, top-down) after shutting off power. Evaporator coils inside the air handler require a licensed technician — they’re harder to access and cleaning them incorrectly can damage refrigerant lines.
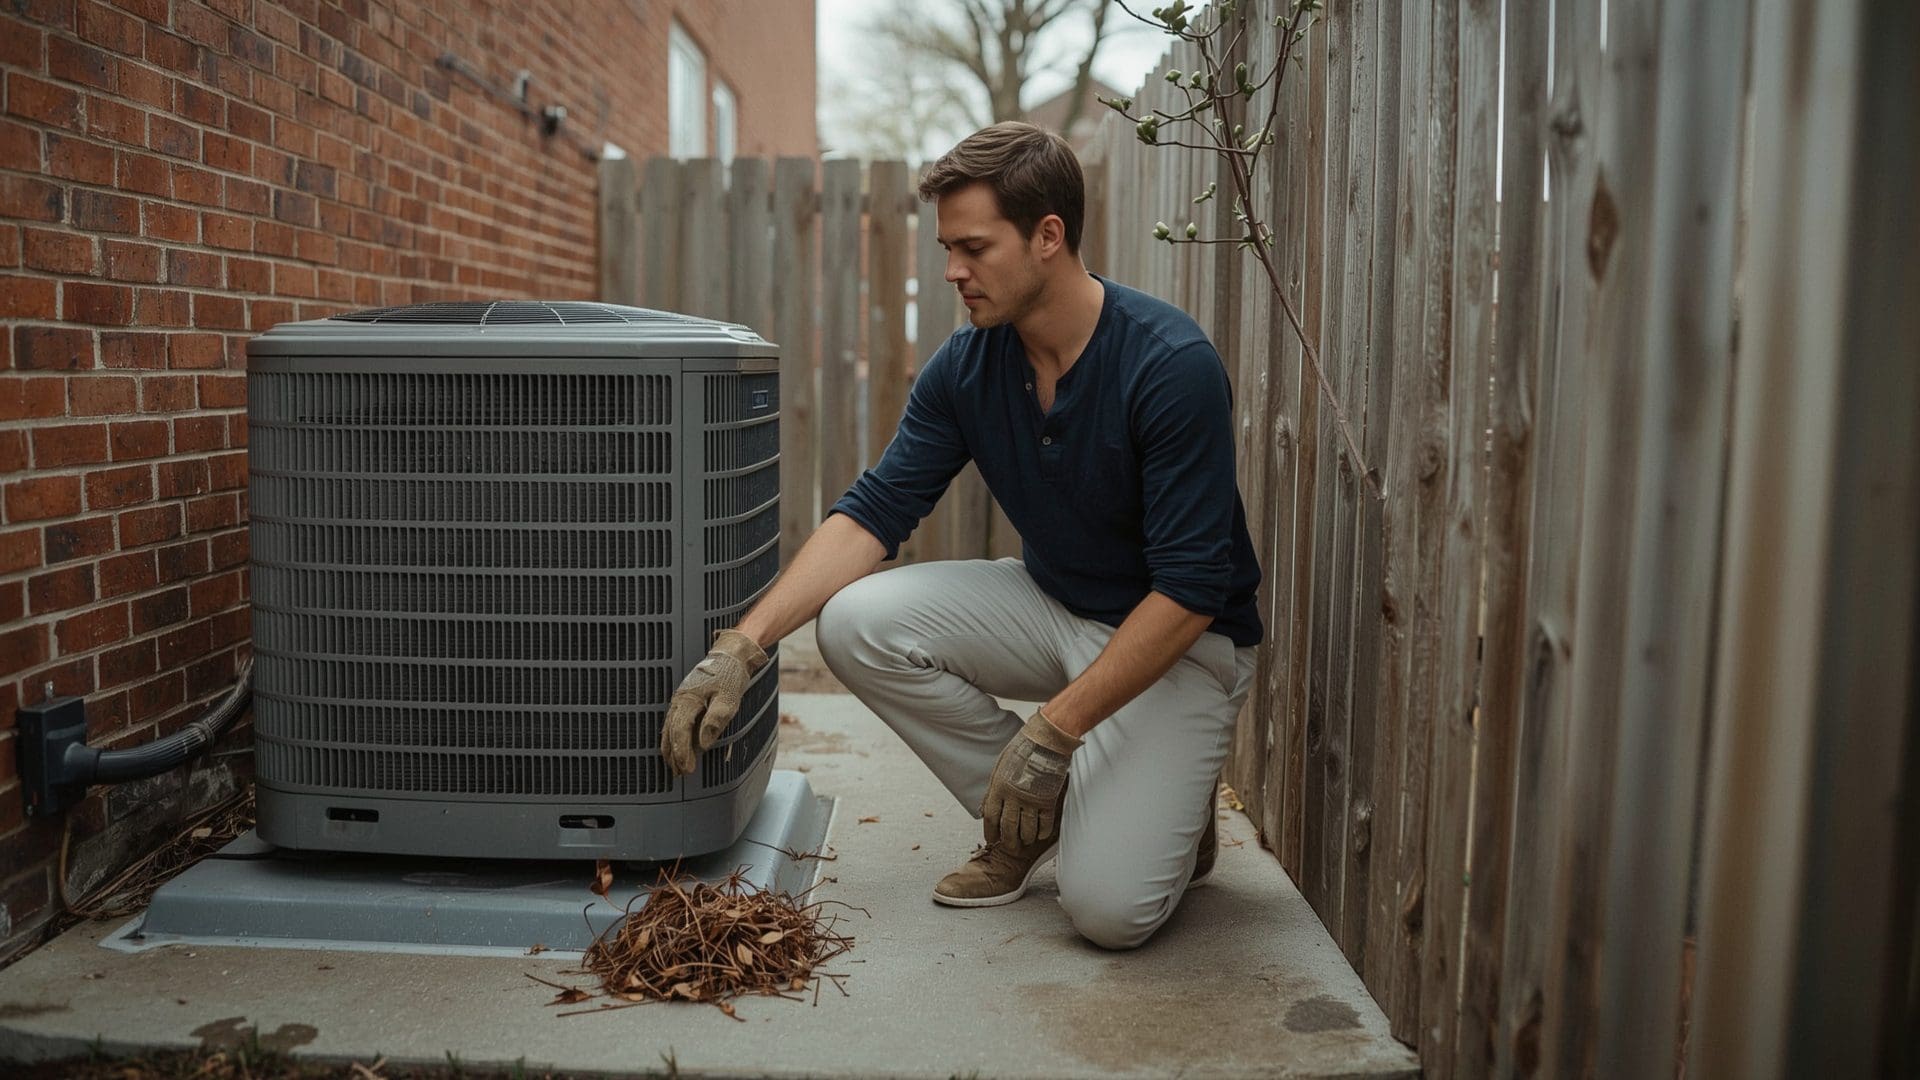
Your AC has two sets of coils. The condenser coil sits in the outdoor unit. It releases heat pulled from inside your home. The evaporator coil sits in the indoor air handler. It absorbs heat from the air blowing across it. Both get dirty over time, and dirty coils reduce heat transfer — which means your system runs longer to cool the same space.
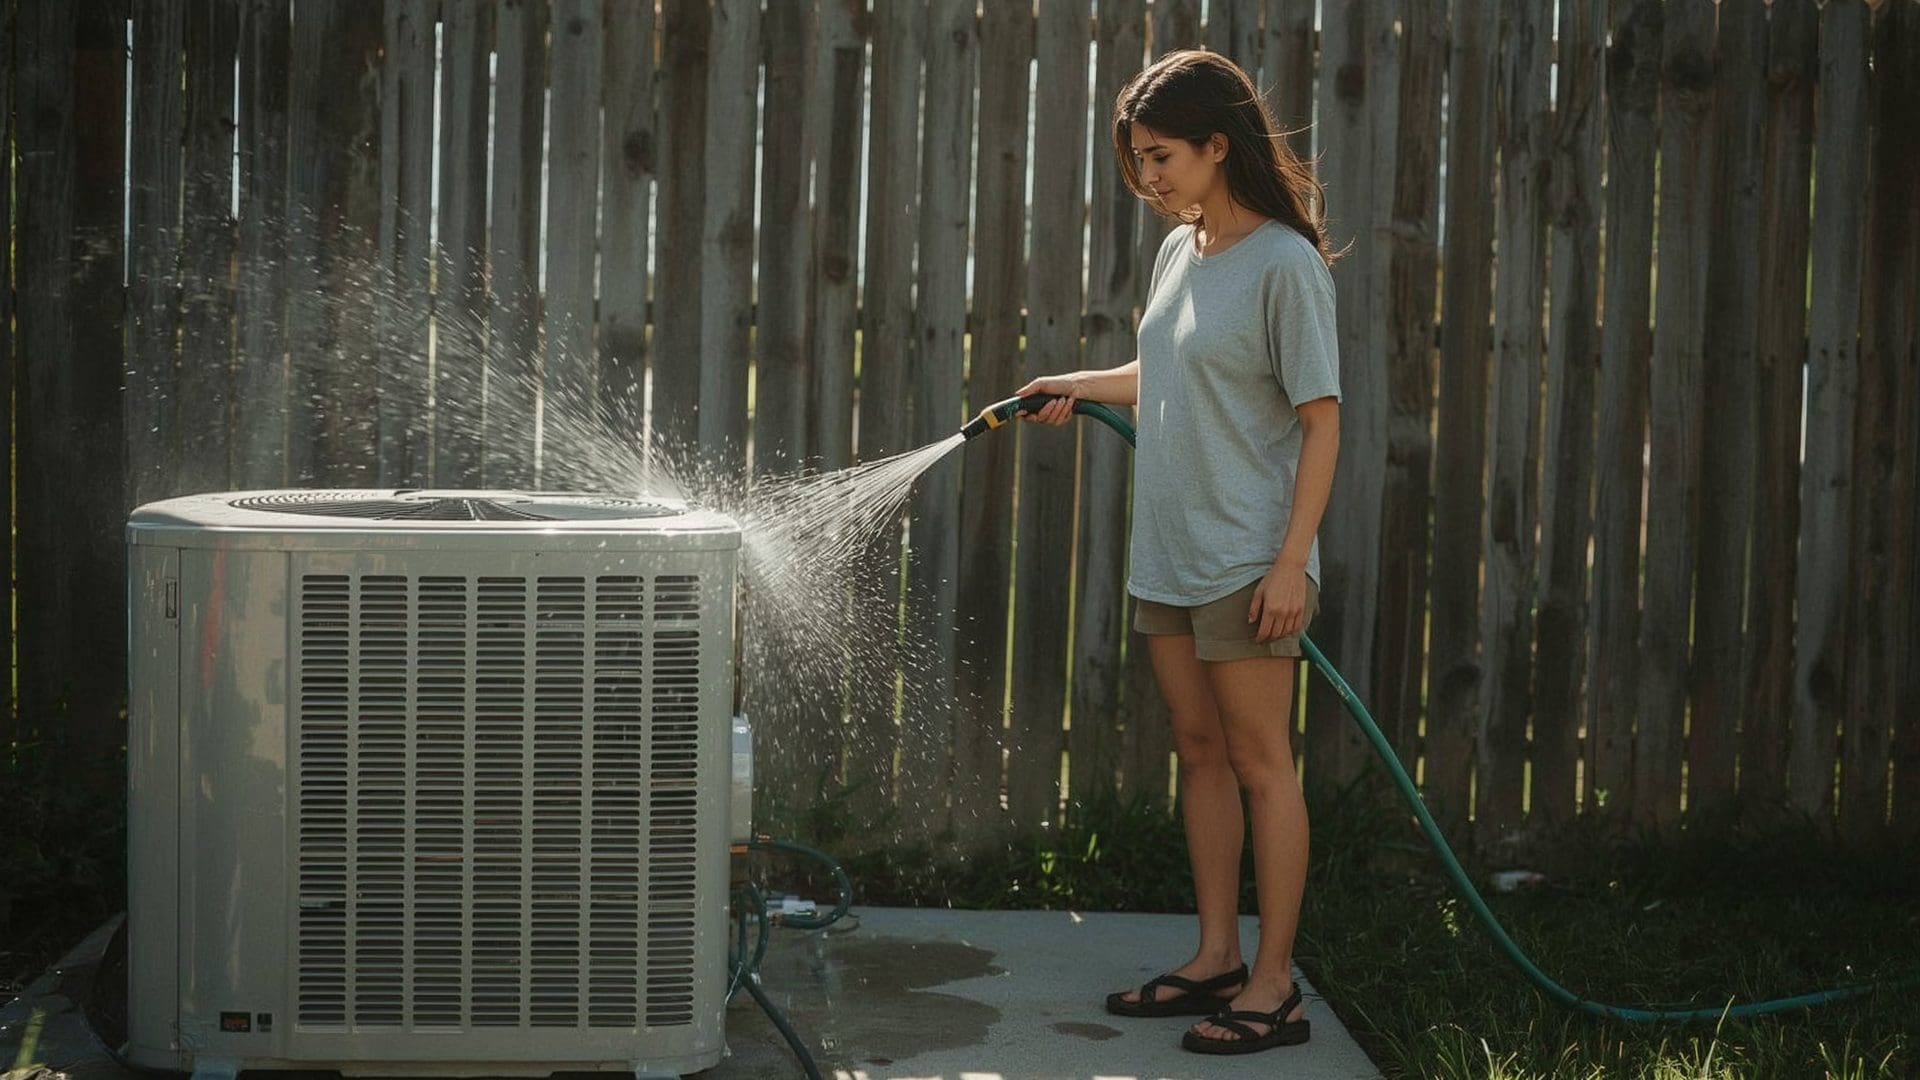
How to Clean the Outdoor Condenser Coil (DIY)
- Shut off power to the outdoor unit at the disconnect box (usually mounted on the wall next to the unit).
- Remove any leaves, grass clippings, or debris from the top and sides of the unit by hand.
- Use a garden hose on a gentle spray setting — never a pressure washer.
- Spray water from the inside of the unit outward, or top-down from outside.
- Let the unit dry for 15–20 minutes before restoring power.
For heavily soiled coils, a no-rinse coil cleaner spray (available at hardware stores for $10–$20) loosens dirt and debris. Spray it on, let it foam, and rinse with water. For indoor evaporator coils, call a professional — improper cleaning can bend delicate fins or damage refrigerant lines.
Condenser Coil Cleaning: What It Affects
| Condition | Efficiency Impact | Typical Result |
|---|---|---|
| Clean coil (clear fins) | Baseline 100% | Rated SEER output |
| Light dust buildup | 5–10% reduction | Slightly longer run cycles |
| Moderate dirt accumulation | 15–20% reduction | Higher energy bills, reduced cooling |
| Heavy blockage (grass, debris) | 30–40% reduction | Overheating, compressor stress |
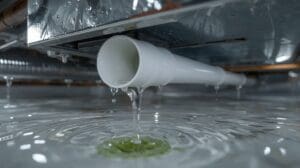
How Do You Flush an AC Drain Line?
Quick Answer: Pour one cup of distilled white vinegar into the condensate drain line access port (a small PVC pipe near your indoor air handler) once a month during cooling season. This breaks up algae and prevents clogs before they cause water overflow and water damage.
As your AC cools air, it also removes humidity. That moisture collects on the evaporator coil and drips down into a condensate drain pan. From there, it flows through a PVC pipe (the drain line) out of your home. Algae and mold love that warm, wet pipe — and they grow fast enough to cause a full clog within a single cooling season.
Step-by-Step Drain Line Flushing
- Locate the condensate drain line. It’s a white PVC pipe (usually ¾ inch) near your indoor air handler, often in the attic, garage, or utility closet.
- Find the access port — a T-shaped pipe fitting with a removable cap.
- Remove the cap and pour in one cup of distilled white vinegar.
- Wait 30 minutes for the vinegar to break up any buildup.
- Flush with one cup of clean water.
- Replace the cap.
If water is already backing up into the drain pan, the clog may be too far along for vinegar alone. In that case, use a wet-dry vacuum to suction the clog from the exterior drain line outlet (usually outside near the foundation). Hold the vacuum hose firmly over the pipe end for 1–2 minutes.
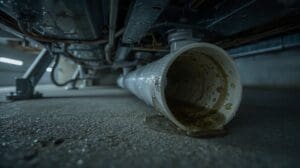
Signs Your Drain Line Is Already Clogged
- Standing water in the condensate drain pan
- AC shuts off unexpectedly (float safety switch triggered)
- Water stains or dripping near the indoor air handler
- Musty smell coming from vents
When Should You Have Refrigerant Levels Checked?
Quick Answer: Have refrigerant checked by a licensed HVAC technician every 2 to 3 years, or immediately if your AC is blowing warm air, running constantly without cooling, or showing ice on the refrigerant lines. Low refrigerant almost always means a leak, not just a top-off situation.
Refrigerant — sometimes called Freon (a brand name for older R-22 refrigerant) — is the substance that moves heat from inside your home to outside. A properly sealed system doesn’t consume refrigerant. If levels are low, your system has a leak somewhere.
Handling refrigerant requires an EPA Section 608 certification. That means this is not a DIY task. A technician will use gauges to measure system pressure, which tells them whether refrigerant levels are correct. If a leak is found, they’ll locate and repair it before adding refrigerant.
Refrigerant Types by System Age
| Refrigerant Type | Systems Using It | Status | Recharge Cost (Approx.) |
|---|---|---|---|
| R-22 (Freon) | Systems installed before 2010 | Phased out — very expensive | $150–$600+ per pound |
| R-410A (Puron) | Systems installed 2010–2024 | Active — being phased down | $50–$120 per pound |
| R-32 | Newer systems (2023+) | Replacing R-410A | $30–$80 per pound |
| R-454B | New systems (2025+) | Current DOE standard | $40–$90 per pound |
If you have an older R-22 system and it needs a recharge, it’s often worth evaluating whether a full system replacement makes more financial sense. R-22 is scarce and extremely expensive because production ended in 2020.
What Electrical Components Should Be Inspected During AC Maintenance?
Quick Answer: A complete electrical inspection checks the capacitor, contactor, wiring connections, disconnect fuse, and amp draws on the compressor and fan motors. These checks catch failing parts before they cause a full breakdown — often during the hottest week of summer.
Electrical failures cause more summertime AC breakdowns than any other category. The most common culprit is the capacitor — a small cylindrical component that gives the compressor and fan motors the jolt they need to start and run. Capacitors degrade over time, especially in extreme heat.
Electrical Components Checked During Professional Maintenance
| Component | Function | Failure Sign | Replacement Cost |
|---|---|---|---|
| Run Capacitor | Keeps compressor and fan running | Bulging top, system hums but won’t start | $150–$300 |
| Start Capacitor | Gives motors starting boost | System trips breaker on startup | $100–$250 |
| Contactor | Switches power to compressor | Chattering, pitting, stuck closed | $150–$350 |
| Disconnect Fuse | Safety shutoff for outdoor unit | Blown fuse, system won’t power on | $10–$30 (fuse only) |
| Wiring and Terminals | Power delivery throughout system | Burn marks, loose connections | Varies by scope |
A technician uses a multimeter to test capacitor microfarad (µF) ratings and a clamp meter to measure amp draws. If a capacitor reads more than 10% outside its rated µF, it should be replaced — even if it hasn’t failed yet. Proactive replacement runs $150–$300 and prevents a $500+ emergency service call.
What Does a Spring AC Startup Checklist Look Like?
Quick Answer: A spring startup checklist covers replacing the air filter, clearing debris from the outdoor unit, flushing the drain line with vinegar, checking thermostat settings and batteries, rinsing condenser coils, and scheduling a professional tune-up to inspect refrigerant and electrical components before cooling season starts.
Spring is your most important maintenance window. You want your AC fully inspected and ready before temperatures spike. Problems found in April cost less to fix than emergency repairs in late June when HVAC companies are at their busiest.
Spring AC Startup Checklist (Step by Step)
- Replace the air filter. Start the season fresh, even if the old filter looks okay.
- Clear the outdoor unit. Remove any leaves, sticks, mulch, or debris that piled up over winter. Trim vegetation to 18–24 inches on all sides.
- Remove the winter cover if you installed one (and make absolutely sure to do this before turning the unit on).
- Rinse the condenser coils with a garden hose as described above.
- Check the condensate drain line. Flush with white vinegar and inspect the drain pan for standing water or staining.
- Test the thermostat. Switch to cooling mode, set it to 68°F, and verify the system turns on within a few minutes.
- Replace thermostat batteries if your thermostat uses them (most battery-powered models need new batteries once a year).
- Listen for unusual sounds — rattling, grinding, or squealing during the first startup often signals a problem worth investigating.
- Schedule a professional inspection to check refrigerant, electrical components, and measure system performance.
What Does a Fall AC Shutdown Checklist Look Like?
Quick Answer: A fall shutdown checklist covers changing the air filter, flushing the drain line one final time, turning off the outdoor disconnect switch, covering the outdoor unit with a breathable cover, and noting any performance issues from the past season to address before spring.
Fall maintenance is often skipped because your AC is “done for the year.” But a quick end-of-season check protects your system from off-season damage and means you start next spring in better shape.
Fall AC Shutdown Checklist
- Replace or inspect the air filter (especially if you’re transitioning to heating season — your furnace uses the same filter).
- Flush the condensate drain line one final time to prevent algae from sitting in the pipe all winter.
- Turn off the outdoor disconnect switch to prevent the system from accidentally running in cold weather.
- Cover the top of the outdoor condenser unit with a breathable cover or plywood to block falling leaves and debris. Do not use a full wraparound tarp — trapped moisture causes corrosion.
- Write down any issues from the season: unusual sounds, warm air complaints, or high energy bills. Share these notes with your technician at the next tune-up.
How Do You Check If Your AC Is Running Efficiently?
Quick Answer: Measure the temperature difference between your return air (air going into the system) and supply air (air coming out of vents). This is called the delta T, and it should be 16°F to 22°F. A reading outside that range signals a problem with airflow, refrigerant, or coils.
You don’t need special equipment to run a basic efficiency check. All you need is a digital thermometer. Hold it in front of a return air vent for 60 seconds and record the temperature. Then hold it in front of a supply vent for 60 seconds. Subtract the supply temperature from the return temperature.
If your delta T is below 16°F, the system isn’t removing enough heat — often because of low refrigerant, dirty coils, or a clogged filter. If it’s above 22°F, airflow may be restricted. Either way, a technician should investigate.
AC System Performance Benchmarks
| Measurement | Normal Range | If Outside Range |
|---|---|---|
| Delta T (temperature split) | 16°F–22°F | Check refrigerant, filter, coils |
| Thermostat response time | 3–5 minutes to start | Check capacitor, contactor, thermostat wiring |
| Compressor amp draw (2-ton unit) | 14–16 amps | Check capacitor, refrigerant pressure |
| Condenser fan amp draw | 1–3 amps | Check capacitor, fan motor condition |
| Static pressure (duct system) | 0.5 inches WC or less | Check filter, duct leaks, dampers |
How Much Does a Professional AC Tune-Up Cost?
Quick Answer: A professional AC tune-up costs between $75 and $200 for a standard single-system home. The price includes inspection, coil cleaning, electrical checks, and a performance test. Service contracts covering two visits per year (spring and fall) typically range from $150 to $350 annually.
A tune-up is not just a sales opportunity for HVAC companies — it’s a preventive investment. The Department of Energy estimates that neglected AC systems lose 5% of their efficiency for every year of skipped maintenance. A system running at 80% efficiency costs measurably more to operate than a well-maintained one.
What a Professional Tune-Up Includes
- Inspect and clean evaporator and condenser coils
- Check refrigerant pressure and look for signs of leaks
- Test capacitors and contactors with a multimeter
- Measure compressor and fan motor amp draws
- Inspect wiring and tighten electrical connections
- Flush condensate drain line
- Lubricate fan motor bearings (on older models with oil ports)
- Inspect duct connections at the air handler
- Test thermostat calibration and operation
- Measure system delta T and overall cooling output
A service contract with a local HVAC company typically prioritizes your appointment scheduling during peak season. That alone can be worth the annual cost — when everyone’s AC fails in July, contract customers often get same-day or next-day service.
What Are the Most Common AC Maintenance Mistakes Homeowners Make?
Quick Answer: The most common mistakes are skipping filter changes, planting shrubs too close to the outdoor unit, using a pressure washer on condenser coils, ignoring the drain line until water damage appears, and running the AC without checking the thermostat to a cool mode first after winter storage.
Good maintenance is as much about avoiding damage as it is about completing tasks. A few well-intentioned mistakes can cause more harm than simply doing nothing.
Top AC Maintenance Mistakes and How to Avoid Them
- Using a high-MERV filter without checking airflow compatibility. A MERV 16 filter in a system designed for MERV 8 restricts airflow severely. Check your system’s manual or ask your HVAC tech which MERV range works for your unit.
- Pressure washing the condenser coil. High-pressure water bends the aluminum fins, reducing airflow. Use a standard garden hose at medium pressure only.
- Covering the entire outdoor unit for winter. A full wrap traps moisture and creates a warm, protected home for rodents. Cover the top only.
- Ignoring the condensate drain pan. A full or stained pan means the drain line is already partially clogged. Don’t wait for overflow — flush monthly.
- Turning the AC on cold days when it’s below 60°F outside. Most air conditioners aren’t designed to run below 60°F outdoor temperature. Running them in cold weather can damage the compressor.
- Skipping the fall shutdown. Leaving the outdoor disconnect on all winter risks accidental startup during a warm winter day, which can freeze the refrigerant in the lines and cause compressor damage.
Frequently Asked Questions
Can I do AC maintenance myself, or do I always need a professional?
You can handle several tasks yourself: replacing the air filter, rinsing the outdoor condenser coil with a hose, flushing the drain line with vinegar, clearing debris around the outdoor unit, and testing the thermostat. Tasks involving refrigerant, electrical testing, or the indoor evaporator coil require a licensed HVAC technician because of safety requirements and EPA regulations.
What happens if I never do any AC maintenance?
A neglected system loses efficiency each year — often 5% or more annually. You’ll see higher energy bills, more frequent breakdowns, and a shorter system lifespan. Most AC systems last 15 to 20 years with regular maintenance. Without it, that drops to 10 to 12 years in many cases.
Does AC maintenance affect my warranty?
Yes. Most manufacturer warranties require proof of annual professional maintenance to stay valid. If your system fails and you can’t show service records, the manufacturer may deny the warranty claim. Keep receipts from every tune-up as part of your home records.
What is a condensate drain float switch and should I have one?
A float switch is a small safety device installed in the condensate drain pan. When water rises to a certain level (because the drain line is clogged), the switch shuts off the AC to prevent overflow and water damage. If your air handler is in an attic or above a finished ceiling, a float switch is strongly recommended — it can prevent thousands of dollars in water damage.
How do I know if my AC needs refrigerant versus just a cleaning?
Both issues can cause warm air and longer run times. A cleaning issue is more likely if your outdoor unit is visibly dirty and airflow from vents feels weak. A refrigerant issue is more likely if airflow feels normal but the air isn’t cold, or if you see ice forming on the refrigerant lines. A technician uses pressure gauges to confirm which problem you have.
Is it worth buying an AC maintenance service contract?
For most homeowners, yes. A service contract typically costs $150 to $350 per year and includes two seasonal visits. That’s less than the cost of one emergency service call ($150 to $500 depending on the repair). Contracts also come with priority scheduling, which matters when your AC fails during a heat wave and wait times stretch to a week or more.