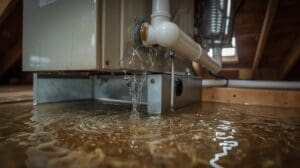
A disconnected drain line is one of the most common causes of water damage from an air conditioning system. When the drain line pulls away from the unit or a fitting comes loose, condensate water spills directly into your home instead of draining outside. The damage can happen quickly, especially during humid North Carolina summers when your AC is running hard.
The good news is that this problem is often visible, repairable, and preventable. Knowing what to look for and how to act can save you from ruined drywall, mold growth, or a costly insurance claim. This guide covers every sign of a disconnected drain line, walks you through a quick drain line repair, and explains when you need a professional to step in.
Ready to learn more? If you need hands-on help fast, our team offers reliable AC repair in Cary and the surrounding area.
What a Disconnected Drain Line Actually Means
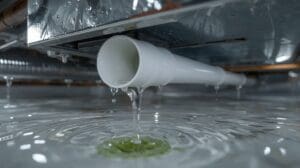
Your AC system removes humidity from indoor air as it cools your home. That moisture collects on the evaporator coil and drips into a drain pan, then flows out through the condensate drain line. The drain line is usually a white PVC pipe that runs from your indoor air handler to an exterior drain point or household drain.
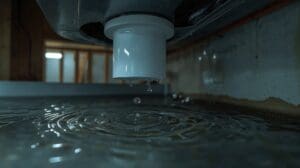
A disconnected drain line means that pipe has separated from the air handler, the drain pan, or one of its own fittings somewhere along its path. Water that should flow out of your home now drips freely into the mechanical closet, attic, crawl space, or ceiling. Even a small gap can release gallons of water per day during peak cooling season.
Common Causes of a Disconnected Drain Line
Drain lines do not disconnect without a reason. Understanding the cause helps you fix the root problem and not just the symptom.
- Vibration over time: Your air handler vibrates slightly every time it runs. Over months or years, that vibration can slowly work a loose drain fitting free from its socket.
- Poor original installation: Fittings that were never properly glued or seated will eventually pull apart under normal use.
- Physical contact: Someone bumping the pipe during filter changes or attic access can knock a fitting loose, especially on older, brittle PVC lines.
- Weight from debris: A clogged or sagging drain line can pull fittings apart under its own weight.
- Thermal expansion: PVC expands and contracts with temperature changes. Over many heating and cooling cycles, unglued fittings can work loose.
Warning Signs Your Drain Line Has Come Disconnected

Catching a disconnected drain line early limits water damage. Watch for these clear warning signs inside and outside your home.
1. Water Pooling Near the Air Handler
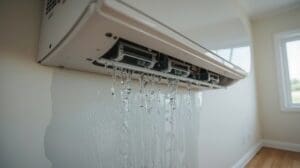
A puddle of water around the base of your indoor unit is one of the most direct signs. If you spot standing water in your mechanical closet or around the furnace cabinet, check the drain line connection points immediately. Do not assume the drain pan simply overflowed on its own.
2. Water Stains on Ceilings or Walls
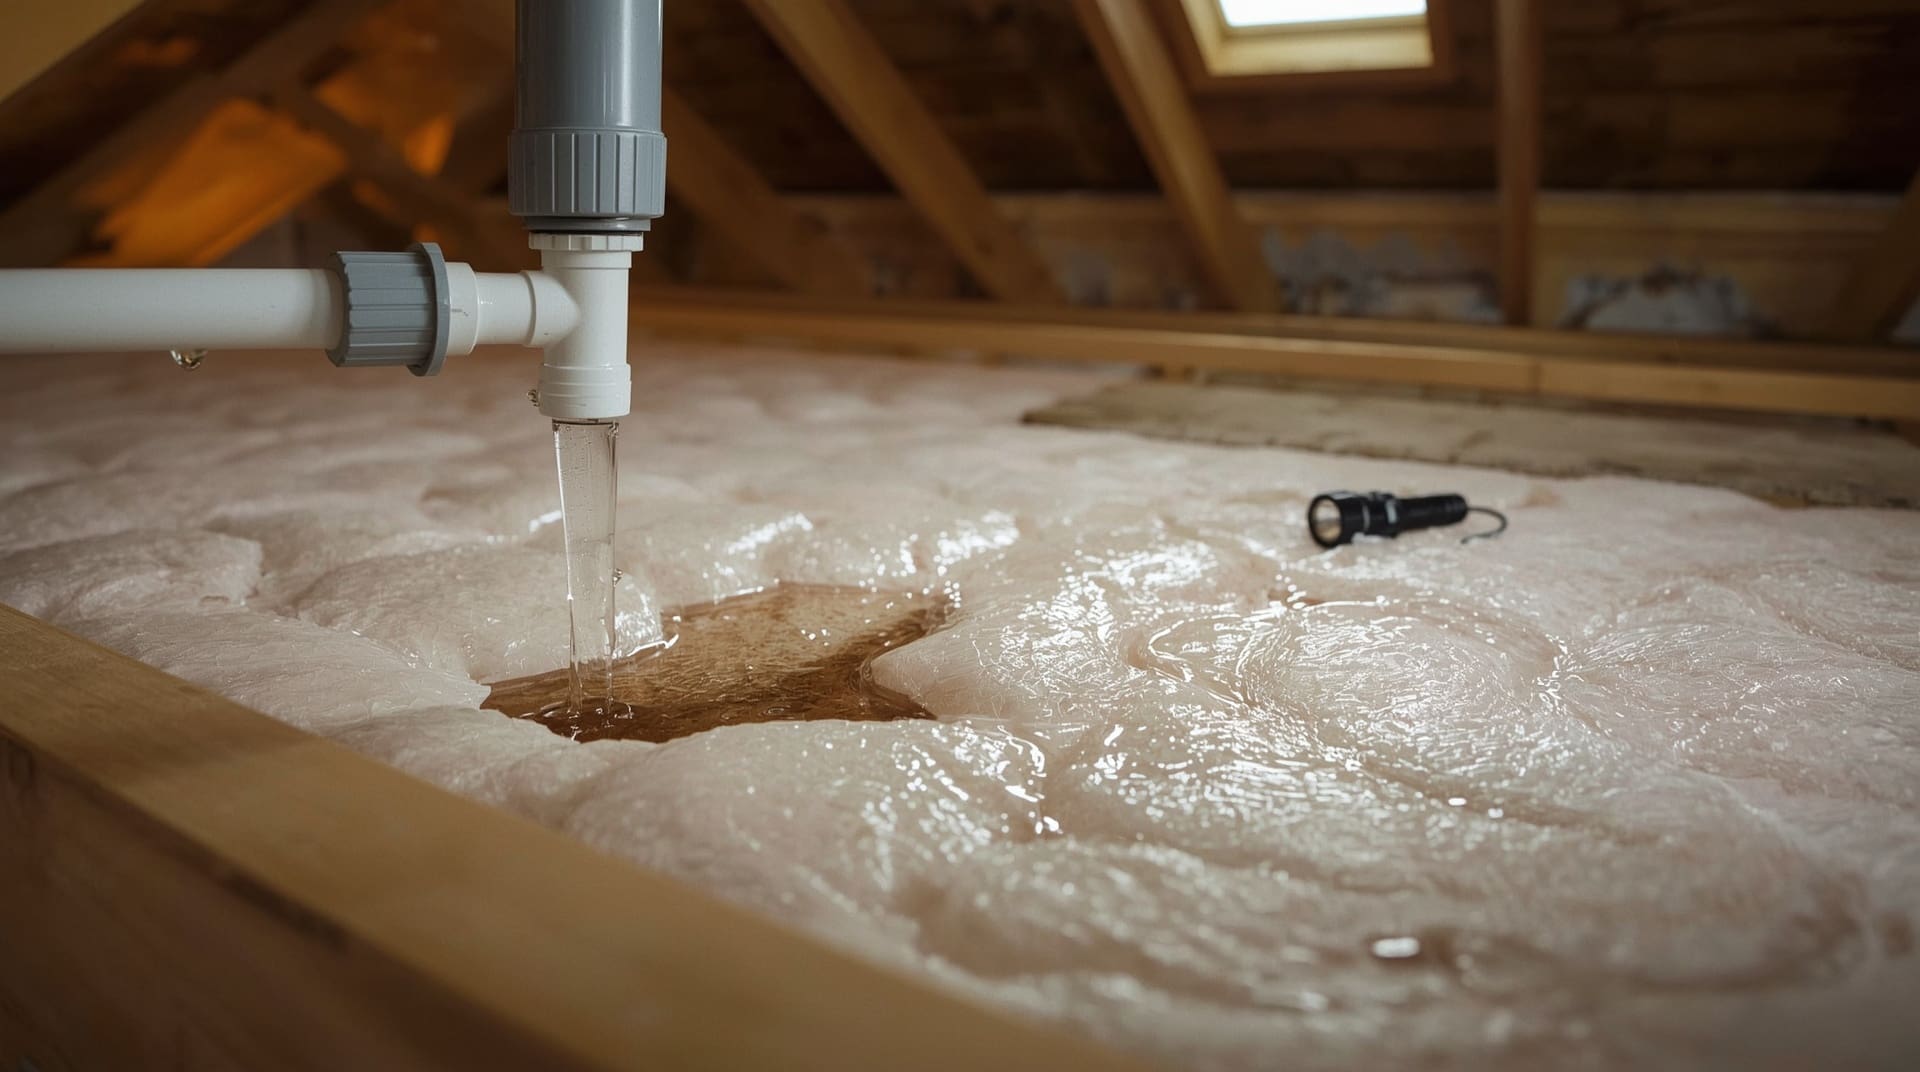
If your air handler sits in the attic, a disconnected line may drip through the ceiling below before you notice any puddle near the unit. Yellow or brown stains on drywall near an HVAC vent or mechanical chase are a common first clue.
3. AC Shuts Off Unexpectedly
Many modern air handlers have a float switch inside the drain pan. When water rises high enough in the pan, the float switch cuts power to the unit to prevent overflow. If your AC keeps shutting off on hot days with no obvious reason, a disconnected drain line is a likely cause.
4. Musty or Mildew Smell
Standing water in a dark mechanical space creates mold and mildew quickly. A musty odor coming from your vents or from the area around your air handler often traces back to water that has been sitting due to a drain problem.
5. High Indoor Humidity
When water pools near the air handler instead of leaving the home, the surrounding air stays damp. You may notice your home feels sticky or humid even though the AC is running. Your thermostat’s humidity reading, if it has one, may climb above 55 percent.
| Warning Sign | Where to Look | Urgency Level |
|---|---|---|
| Water pooling near air handler | Mechanical closet, utility room | High |
| Ceiling or wall water stains | Below attic air handler | High |
| AC shutting off unexpectedly | Thermostat, air handler | Medium-High |
| Musty or mildew smell | Vents, mechanical space | Medium |
| High indoor humidity readings | Thermostat, hygrometer | Medium |
How to Locate the Disconnection Point
Before you can do any drain line repair, you need to find exactly where the line has separated. Turn off your AC at the thermostat first. Then follow the drain line from start to finish.
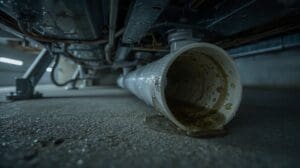
Start at the drain pan under the evaporator coil. Look where the pipe exits the pan and check whether that connection is snug. Then trace the line through the wall, attic, or crawl space to the exit point. Look for wet spots, drips, or discoloration on insulation or wood near any fitting or joint. The disconnection is almost always at a fitting, not in the middle of a straight pipe run.
Use a flashlight and look closely at each slip joint. A slip joint is where one pipe slides into another. Any gap, even a small one, is the problem. Mark the spot before you go get supplies so you do not lose track of it.
Step-by-Step Drain Line Repair for a Disconnected Section
Most homeowners can handle a simple reconnection with basic supplies from a hardware store. Here is a straightforward process for repairing a disconnected PVC drain line.
What You Need
- PVC primer and cement (for a permanent bond)
- Replacement slip fitting or coupling (if the old one is cracked)
- Clean cloth or paper towels
- Sandpaper (120-grit)
- Flashlight
- Bucket and towels for cleanup
Step 1: Turn Off the System
Switch your AC off at the thermostat and cut power at the breaker. Never work around a live air handler. Dry up any standing water with towels or a wet-dry vacuum before you start.
Step 2: Inspect the Fitting
Look at the disconnected fitting closely. If it is cracked, warped, or brittle, replace it entirely. A cracked fitting will not hold cement reliably. If the fitting looks intact, you can reuse it as long as the pipe end is clean and undamaged.
Step 3: Clean and Dry the Joint
Wipe both the pipe end and the inside of the fitting with a clean cloth. Sand the pipe end lightly if there is any residue or old dried cement. Both surfaces must be completely dry before you apply primer. Moisture under the cement causes a weak bond.
Step 4: Apply PVC Primer and Cement
Brush PVC primer on the outside of the pipe end and the inside of the fitting. Wait about 10 seconds for the primer to dull the surface. Then apply PVC cement to both surfaces and push the pipe firmly into the fitting with a slight quarter-turn twist. Hold it in place for 30 seconds without moving it. The cement sets fast, so work quickly and confidently.
Step 5: Allow Cure Time
Most PVC cement packages specify a cure time before the joint can handle water flow. A wait of 30 to 60 minutes is typical for low-pressure condensate lines. Do not rush this step. Turning the system back on too soon can push the joint apart before it has fully bonded.
Step 6: Test the Connection
Restore power and turn the AC back on. Watch the repaired joint for 15 to 20 minutes. You can pour a small amount of water into the drain pan access port to confirm flow. If the joint stays dry and water exits at the outdoor drain point, the repair is complete.
Fixing a Loose Drain Fitting Without Full Replacement
Sometimes a loose drain fitting has not fully separated, and the pipe is just slightly out of position. In these cases, you may be able to reseat the fitting without cutting out any pipe. Clean the surfaces, apply primer and cement as described above, and push the fitting fully into place before the cement sets.
Do not use duct tape, foam tape, or silicone caulk as a long-term fix for a loose drain fitting. These materials do not bond PVC under constant moisture exposure. They may hold for a week or two, then fail at an inconvenient time. PVC cement is the correct and durable solution for this repair.
Preventing a Disconnected Drain Line From Happening Again
One repair is a fix. Preventing the problem from recurring is better. A few simple habits keep your drain line secure year after year.
- Support the line properly: Long horizontal runs of drain line should be supported every 18 to 24 inches with pipe hangers. An unsupported line sags and puts stress on fittings.
- Glue every joint: If any joint in your existing drain line was simply press-fit and not glued, apply primer and cement at your next opportunity.
- Clear clogs before they add weight: A clogged drain line holds standing water, which adds weight and stress to fittings. Flushing the line with a diluted bleach solution every few months prevents algae buildup.
- Schedule annual AC maintenance: A technician will check drain line connections, clean the line, and spot any loose fittings during a routine visit.
- Be careful during filter changes: If your air handler is in a tight space, avoid bumping drain line connections when you reach past the unit to swap the filter.
Water Damage Risks and Why Speed Matters
A disconnected drain line is not a minor inconvenience. It is an active water leak inside your home. In Cary and the rest of central North Carolina, summer humidity levels are high, which means your AC produces more condensate than systems in drier climates. A single hot day can send a surprising amount of water into your ceiling, insulation, or subfloor.
Mold can begin to grow on wet drywall or wood within 24 to 48 hours under warm, humid conditions. Insulation that absorbs water loses its thermal value and may need to be replaced entirely. Ceiling drywall that gets wet sags, stains, and eventually fails. The cost of repairing secondary water damage almost always exceeds the cost of fixing the drain line quickly.
If you discover a disconnect that has been leaking for more than a few hours, do a thorough inspection of the surrounding area. Press on drywall and check insulation for saturation. If the area is wet beyond the immediate drip zone, contact a water damage specialist in addition to fixing the drain line.
When to Call a Professional for Drain Line Repair
Not every disconnected drain line situation is a safe or practical DIY job. Call a professional when any of the following applies.
- The disconnection is deep inside a wall or ceiling with no easy access
- You see mold growth near the leak point
- The drain pan itself is cracked or corroded and needs replacement
- The repair requires cutting and fitting new PVC sections
- The AC float switch is faulty and the unit does not shut off when the pan fills
- You repaired the joint but water still appears after a test run
Drain line problems are also sometimes connected to larger AC system issues. A frozen evaporator coil, for example, can produce far more condensate than normal when it thaws, overwhelming any drain line. If your drain line keeps disconnecting or the pan keeps overflowing, the underlying cause may not be the drain line itself.
Final Thoughts on Disconnected Drain Lines
A disconnected drain line is a fixable problem, but it demands quick action. The moment you spot water near your air handler or notice your AC shutting off without cause, inspect your drain line connections before the situation escalates. A loose drain fitting caught early is a 30-minute repair. The same problem left for days can mean thousands of dollars in water damage.
Staying proactive with annual AC maintenance and knowing how to recognize the warning signs puts you ahead of this issue entirely. If you are ever unsure about the repair or suspect the damage has already spread, a qualified HVAC technician in the Cary area can assess the situation and get your system draining correctly again.
Frequently Asked Questions About Disconnected Drain Lines
Can I run my AC if the drain line is disconnected?
No. Running your AC with a disconnected drain line will dump condensate water into your home with every cooling cycle. Turn the system off at the thermostat and the breaker until you have repaired the connection. The only exception is if your unit has a working float switch that has already shut it down for you, but even then, do not restart it until the line is fixed.
How long does PVC cement take to cure on a drain line repair?
For a low-pressure condensate drain line, PVC cement typically reaches a workable set in 15 to 30 minutes under warm conditions. Most manufacturers recommend waiting at least 30 to 60 minutes before allowing water to flow through the joint. Read the label on your specific cement product, as cure times vary slightly by brand and temperature.
What if my drain line keeps disconnecting after I fix it?
Recurring disconnections usually mean the pipe is not supported properly, or there is a clog putting back pressure on the line. Check that all horizontal sections have pipe hangers every 18 to 24 inches. Also flush the line to clear any algae or debris buildup. If the problem persists, have an HVAC technician inspect the full drain system, including the drain pan and float switch.
Is a disconnected drain line covered by my homeowner’s insurance?
Coverage depends on your specific policy. Many standard homeowner’s policies cover sudden and accidental water damage but exclude damage from a slow leak that went undetected over a long period. Document the situation with photos as soon as you find it, report it to your insurer promptly, and keep all repair receipts. An adjuster will determine coverage based on the timeline and cause of the damage.
How is a disconnected drain line different from a clogged one?
A clogged drain line is blocked so water cannot exit, causing the drain pan to overflow. A disconnected drain line has an open gap where water escapes before it reaches the exit point. Both cause water damage and share some symptoms, but the fix is different. A clog requires clearing the blockage, while a disconnection requires reseating and cementing the fitting. Inspecting the full line helps you identify which problem you are dealing with.