A mini split leaking water inside your home is more than just a nuisance. It can damage walls, flooring, and furniture if you ignore it long enough. The good news is that most ductless leak problems come down to a handful of root causes, and several of them are fixable without a service call.
This guide walks you through every major reason your mini split drip is happening, how to diagnose each one, and what steps you can take right now to stop the water. You will also learn which situations call for a licensed HVAC technician rather than a DIY fix.
Ready to learn more? Our team offers professional ductless system repair to diagnose and fix any mini split water leak quickly and correctly.
How a Mini Split Manages Condensation
Before troubleshooting, it helps to understand why water forms inside your unit at all. When warm, humid air passes over the cold evaporator coil inside the air handler, moisture in the air condenses into liquid water. Think of it like a cold glass of iced tea on a humid Carolina summer day.
That condensate drips into a collection tray called the drain pan, then flows through a condensate drain line to the outside of your home. When any part of that system fails or gets blocked, water has nowhere to go and spills indoors. A mini split leaking water is almost always a sign that something in this drainage path has broken down.
A Clogged Drain Line Is the Most Common Cause
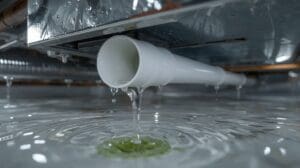
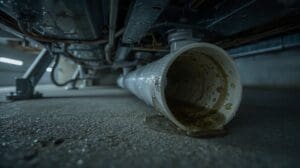
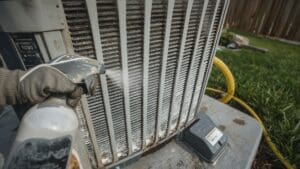
The condensate drain line is a small tube, usually about half an inch in diameter, that carries water from the drain pan to the outside. Over time, algae, mold, dust, and debris build up inside this tube and form a clog. Once blocked, water backs up into the pan and eventually overflows into your room.
This is the single most frequent reason homeowners see a mini split drip forming below the indoor unit. In Cary and the surrounding Triangle area, humid summers accelerate algae growth inside drain lines, making annual cleaning especially important here.
How to Clear a Clogged Drain Line
- Turn off the mini split at the thermostat and at the breaker.
- Locate the drain line where it exits the wall or unit, usually a small white or clear tube.
- Use a wet/dry vacuum to suction from the outdoor end of the line for 30 to 60 seconds.
- Pour a cup of diluted white vinegar into the drain pan to kill algae and loosen buildup.
- Wait 30 minutes, then flush with plain water to confirm the line flows freely.
- Restore power and monitor for leaking over the next few hours.
If the clog does not clear with a vacuum, a plumber’s snake or a professional flush with nitrogen may be needed. Do not use harsh chemical drain openers, as they can damage plastic components.
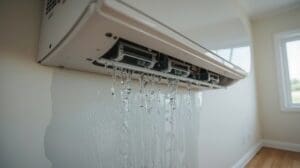
A Dirty Air Filter Leads to Ice Formation and Water Overflow
Your mini split’s air filter catches dust and particles before they reach the evaporator coil. When the filter becomes heavily clogged, airflow across the coil drops sharply. With less warm air moving over it, the coil drops below freezing and ice forms on its surface.
When the system cycles off or defrosts, that ice melts faster than the drain pan can handle. The result is a sudden mini split drip or even a steady stream of water running down your wall. This problem is easy to prevent with regular filter maintenance.
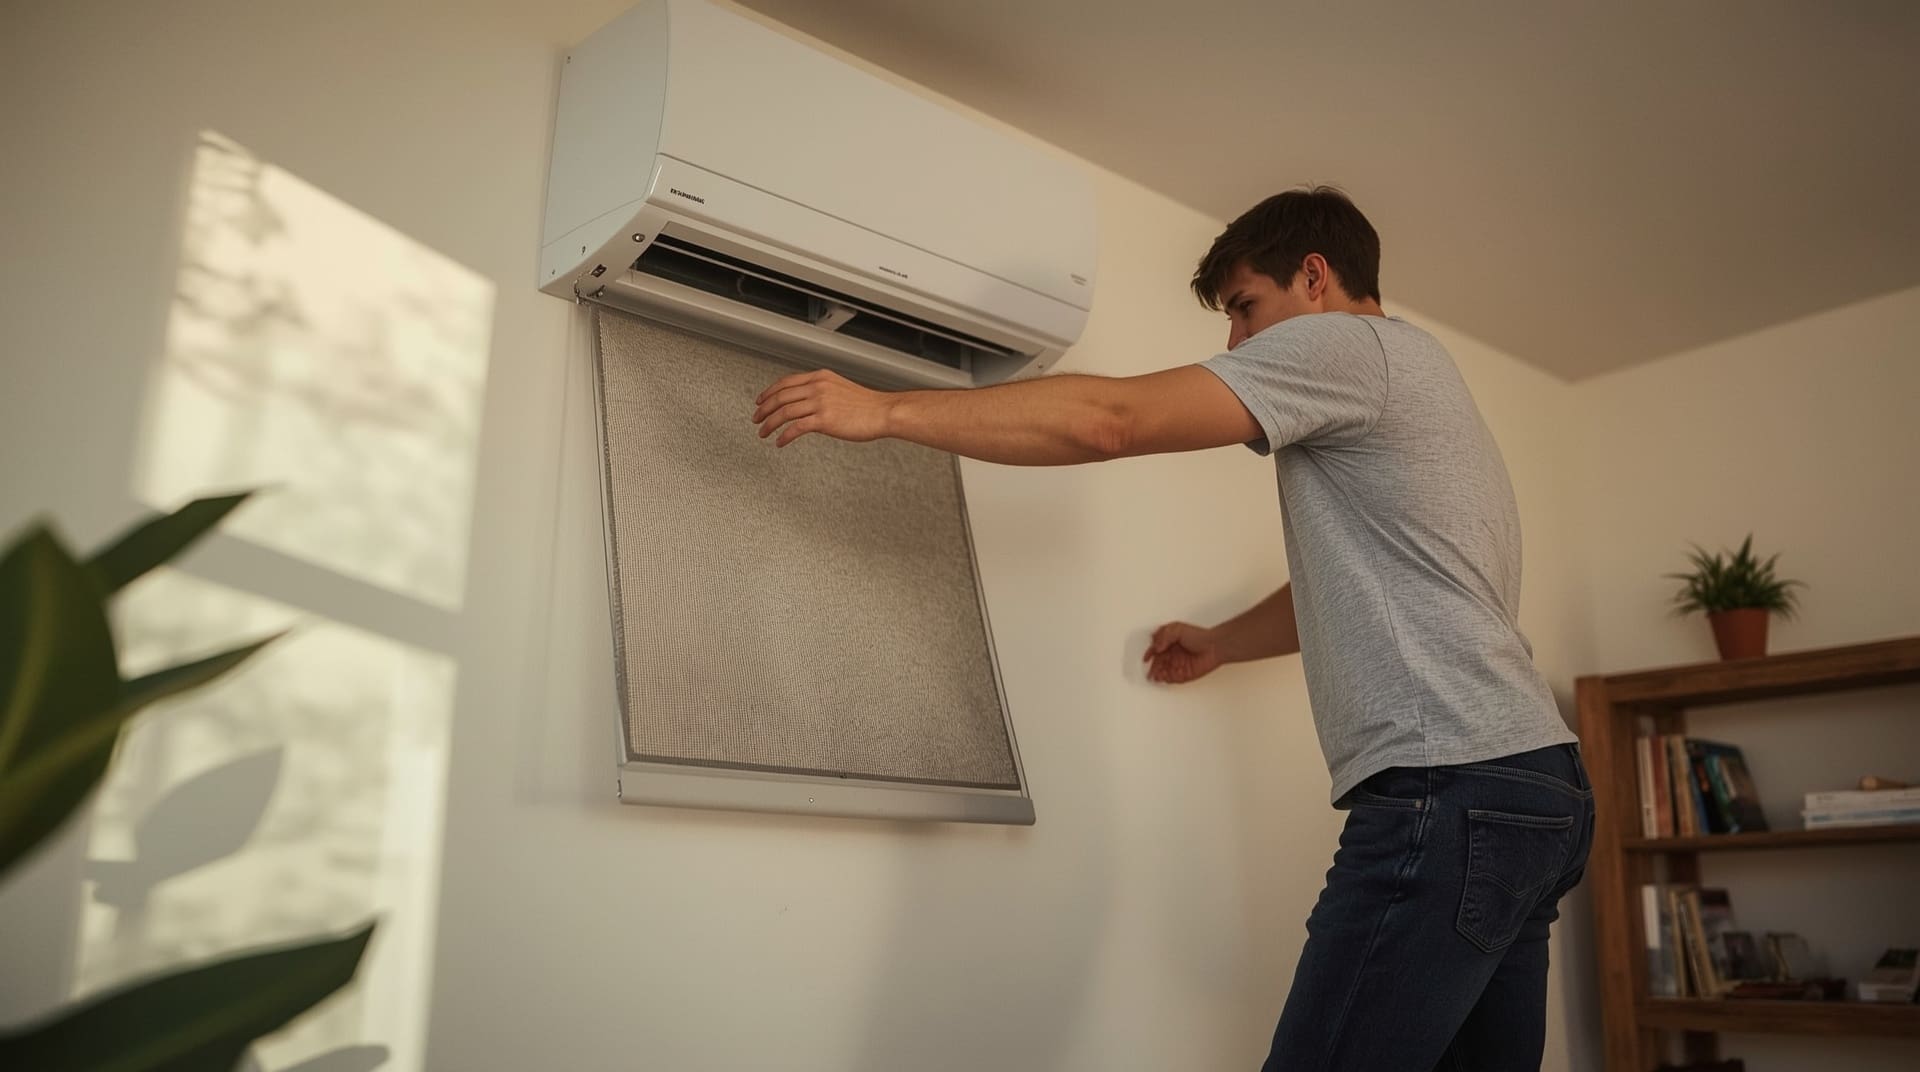
How to Check and Clean Your Filter
- Open the front panel of your air handler (most snap open without tools).
- Remove the mesh filter and hold it up to a light source. If you cannot see light through it clearly, it needs cleaning.
- Rinse the filter under lukewarm running water and let it dry completely before reinstalling.
- Clean filters every 4 to 6 weeks during heavy use seasons.
A Frozen Evaporator Coil Can Cause Serious Water Damage
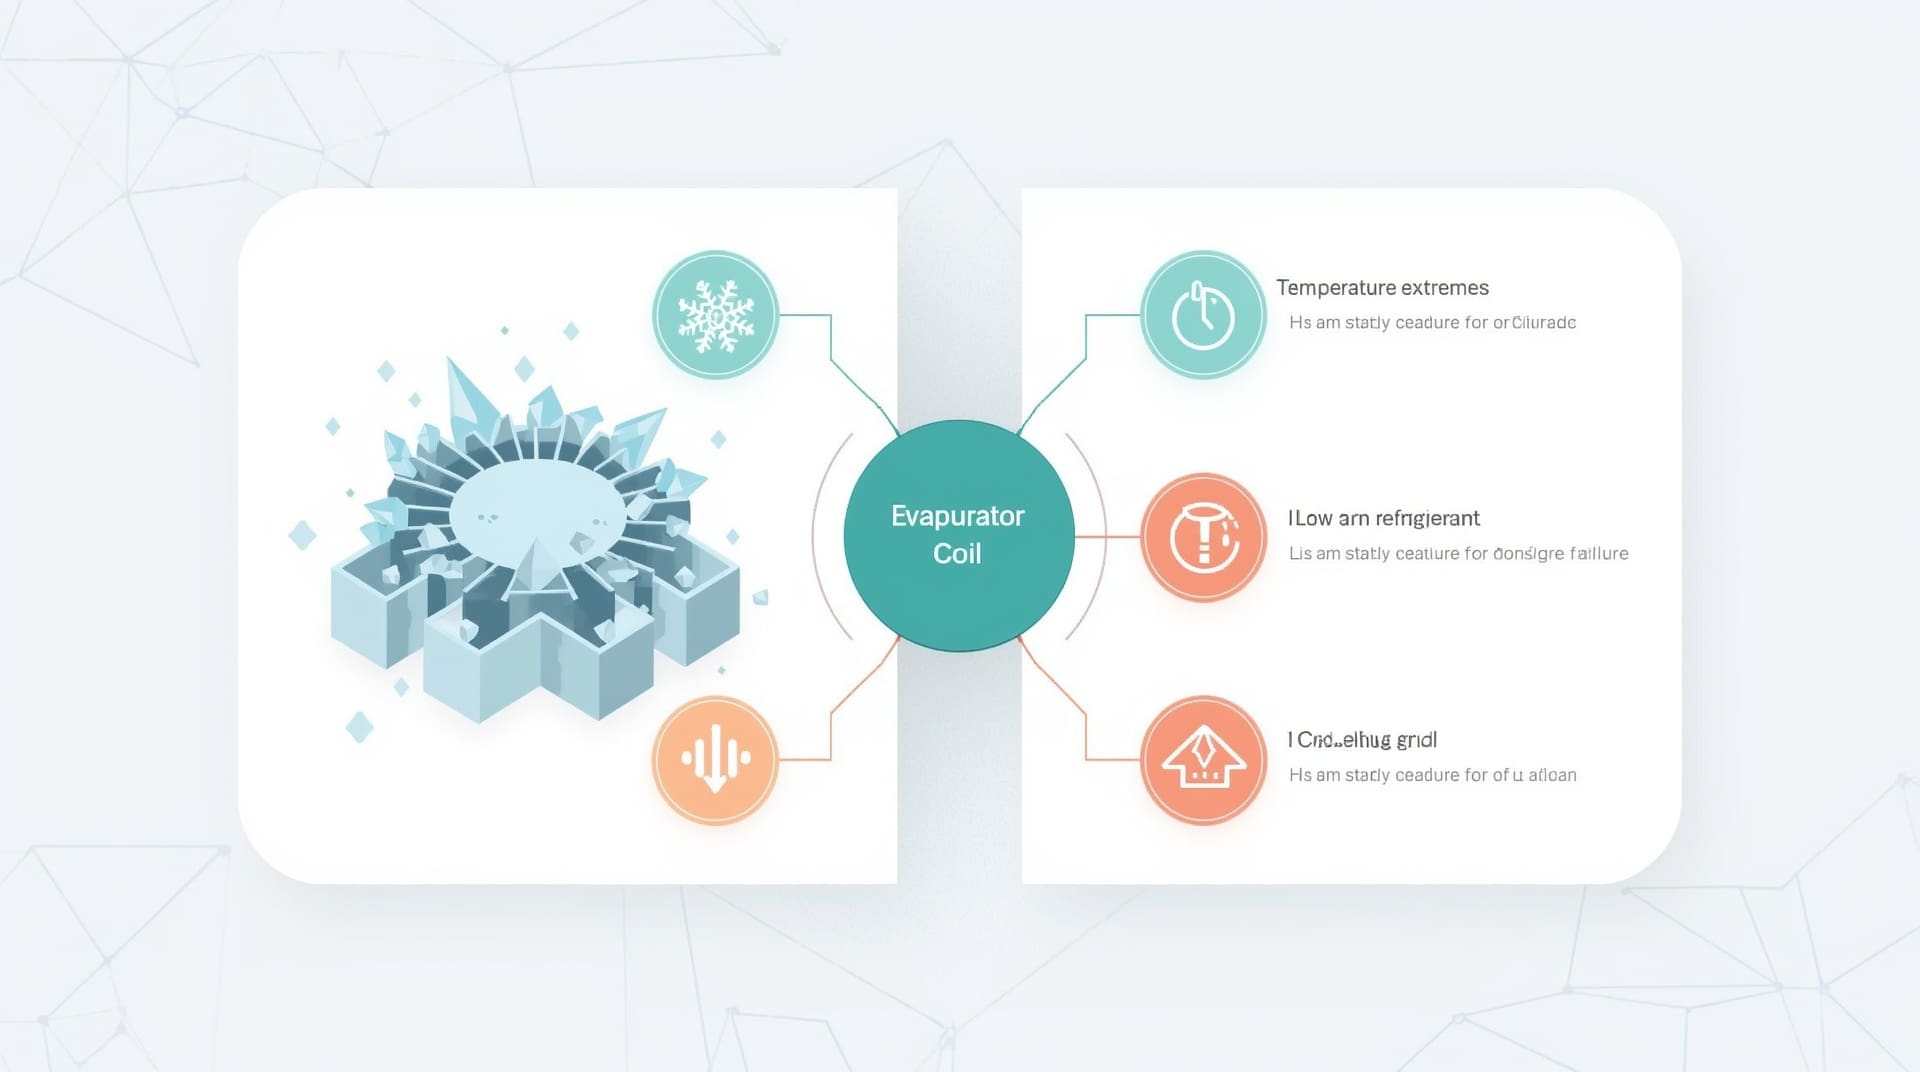
Ice on your evaporator coil is not always caused by a dirty filter alone. Low refrigerant levels, a failing blower motor, or running the system in very cold outdoor temperatures can all freeze the coil. A frozen coil holds a surprising amount of ice, and when it thaws, the water volume can overwhelm the drain pan completely.
If you open your air handler and see frost or ice anywhere on the coil or refrigerant lines, shut the system off immediately and let it thaw for several hours with the fan running on low. Do not chip at the ice. Once thawed, identify and correct the root cause before restarting cooling mode.
Signs Your Coil Is Frozen
- Reduced or no cooling despite the system running
- Visible frost on the indoor unit or on the refrigerant lines near the wall
- A sudden surge of water after the unit has been running a long time
- Unusual hissing or bubbling sounds from the refrigerant lines
If low refrigerant is suspected, you need a licensed technician to inspect and recharge the system. Refrigerant handling requires EPA certification and is not a DIY task.
An Improperly Installed Drain Line Causes Chronic Leaks
Drain lines must slope consistently downward from the indoor unit to the exit point outside. If any section of the line runs level or tilts slightly upward, water pools in that section instead of draining. This is a common installation error that creates a persistent ductless leak even when the line itself is not clogged.
A properly installed line follows a continuous downward grade. If your system is relatively new and already leaking, this installation issue is worth investigating. A technician can inspect the drain line route and correct the slope by re-routing or re-securing the tubing.
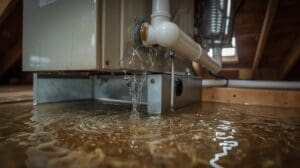
A Damaged or Overflowing Drain Pan Needs Prompt Attention
The drain pan sits directly beneath the evaporator coil and catches all condensate before it reaches the drain line. Over time, plastic drain pans can crack from age, temperature cycling, or algae corrosion. Metal pans can rust through. Even a small crack lets water drip directly onto the ceiling or wall behind your unit.
To inspect the pan, turn off the unit, open the front panel, and look for visible cracks, rust stains, or standing water. A cracked pan must be replaced. This is not a component you can patch reliably with sealant for long-term use.
| Cause | DIY Fix Available? | Urgency Level |
|---|---|---|
| Clogged drain line | Yes, in most cases | Moderate |
| Dirty air filter / frozen coil | Partial (filter yes, refrigerant no) | High |
| Improper drain line slope | No, requires reinstallation | Moderate |
| Cracked or rusted drain pan | No, pan replacement needed | High |
| Low refrigerant | No, licensed tech required | High |
| Blocked air vents or poor airflow | Yes | Low to Moderate |
Poor Airflow from Blocked Vents Contributes to Leaks
Furniture, curtains, or other objects placed too close to the indoor unit can restrict the airflow the system needs. When airflow drops, the evaporator coil gets too cold, condensation increases beyond normal levels, and the drain system struggles to keep up. This is a simple fix: clear at least two feet of open space in front of and below the air handler.
Also check that the indoor unit louvers are not stuck in a position that directs airflow directly onto a cold wall. When cool air hits a cold surface immediately, it condenses on the wall rather than circulating through the room, and that moisture can look like a ductless leak when it drips.
High Indoor Humidity Increases Condensate Volume
In humid climates like Cary and the greater Triangle region, your mini split works hard to remove moisture from the air. During peak summer humidity, the system can generate significantly more condensate than on a dry day. If your drain system is already partially restricted, high humidity pushes it over the edge.
Running a standalone dehumidifier in particularly humid rooms can reduce the load on your mini split. Sealing gaps around windows, doors, and the line set penetration through your wall also keeps humid outdoor air from sneaking in. The line set is the bundle of refrigerant tubing, electrical wiring, and drain line that connects the indoor and outdoor units.
Installation Quality Affects Long-Term Leak Risk
The way your system was originally installed has a major impact on whether you ever deal with a persistent leak. Units mounted at an improper angle, drain lines routed with unnecessary bends, and condensate lines that terminate in a location where water has nowhere to go all set up future problems. A quality ductless mini-split installation follows manufacturer specs for unit tilt, drain line slope, and line set routing.
If you bought a home with an existing mini split and are experiencing repeated leaking despite regular maintenance, ask a technician to audit the original installation. Correcting a poor installation upfront saves money compared to dealing with recurring water damage over several years.
When to Stop the DIY Approach and Call a Technician
Some mini split water problems are genuinely within homeowner reach. Cleaning a filter, flushing a drain line, and clearing space around the unit are all reasonable DIY tasks. Other problems require training, tools, or certifications that most homeowners do not have.
Call a licensed HVAC technician when you notice any of the following situations. Waiting too long with these issues leads to bigger repair bills and potential structural damage.
- Ice on the coil or refrigerant lines that returns after thawing
- Water leaking from the line set penetration in the wall, not just the unit
- A visibly cracked or rusted drain pan
- Leaking that continues after you have cleared the drain line and cleaned the filter
- A burning smell or electrical odor alongside the water leak
- Water damage already spreading to drywall, ceiling tiles, or flooring
If the issue is urgent or happening outside business hours, an emergency HVAC repair service can respond quickly to prevent further damage to your home.
Preventive Maintenance Stops Most Mini Split Leaks Before They Start
The majority of mini split water leak calls are entirely preventable. A consistent maintenance routine keeps the drain line clear, the filter clean, the coil frost-free, and the drain pan intact. Most manufacturers recommend a professional tune-up once a year, with homeowner filter cleaning every four to six weeks during active use seasons.
During a professional visit, the technician clears the drain line, checks refrigerant pressure, inspects the coil and pan, verifies proper drainage slope, and confirms the unit is operating within manufacturer specs. Catching a small clog or a hairline crack in the drain pan during a routine visit costs far less than repairing water-damaged drywall or flooring after a full overflow.
Final Thoughts on Mini Split Leaking Water
A mini split leaking water indoors almost always traces back to one of a short list of fixable problems. A clogged drain line, a dirty filter, a frozen coil, a cracked pan, or a poor original installation covers the vast majority of cases. Start with the simplest checks first: clean the filter, inspect the drain line, and clear space around the unit. Many homeowners resolve the problem without any outside help.
For problems that go beyond basic maintenance, a qualified technician can diagnose and correct the issue quickly. Staying ahead of the problem with regular ductless maintenance is the most reliable way to keep your system running leak-free for years to come.
Frequently Asked Questions About Mini Split Leaking Water
Why is water dripping from my mini split indoor unit?
Water drips from the indoor unit when condensation cannot drain properly. The most common causes are a clogged drain line, a dirty air filter causing ice buildup on the coil, or a cracked drain pan. Start by checking the filter and drain line before calling a technician.
Is it safe to run my mini split if it is leaking water?
It is best to turn the unit off until you identify the cause. Running a leaking system risks water damage to your walls, ceiling, and flooring. If the leak is caused by a frozen coil, continuing to run the unit in cooling mode will worsen the ice buildup and the eventual overflow.
How often should I clean the condensate drain line?
Flush the condensate drain line at least once a year, ideally before the cooling season begins. In humid areas like Cary, North Carolina, flushing every six months is a smart habit because algae grows faster in warm, moist conditions. A vinegar flush every season keeps algae from taking hold.
Can a mini split leak water in heating mode?
Yes, though it is less common. In heating mode, the outdoor unit acts as the evaporator and manages its own defrost cycle. If the indoor unit leaks in heating mode, check whether the drain line is frozen due to outdoor temperatures or whether condensation is forming on cold surfaces near the unit’s airflow path.
How much does it cost to repair a mini split water leak?
Cost varies by cause. Clearing a drain line during a routine visit is typically inexpensive, often covered under a maintenance service fee. Replacing a drain pan, correcting a drain line installation, or recharging refrigerant costs more and requires a licensed technician. Getting a diagnosis first helps you understand exactly what repair is needed before committing to a cost.